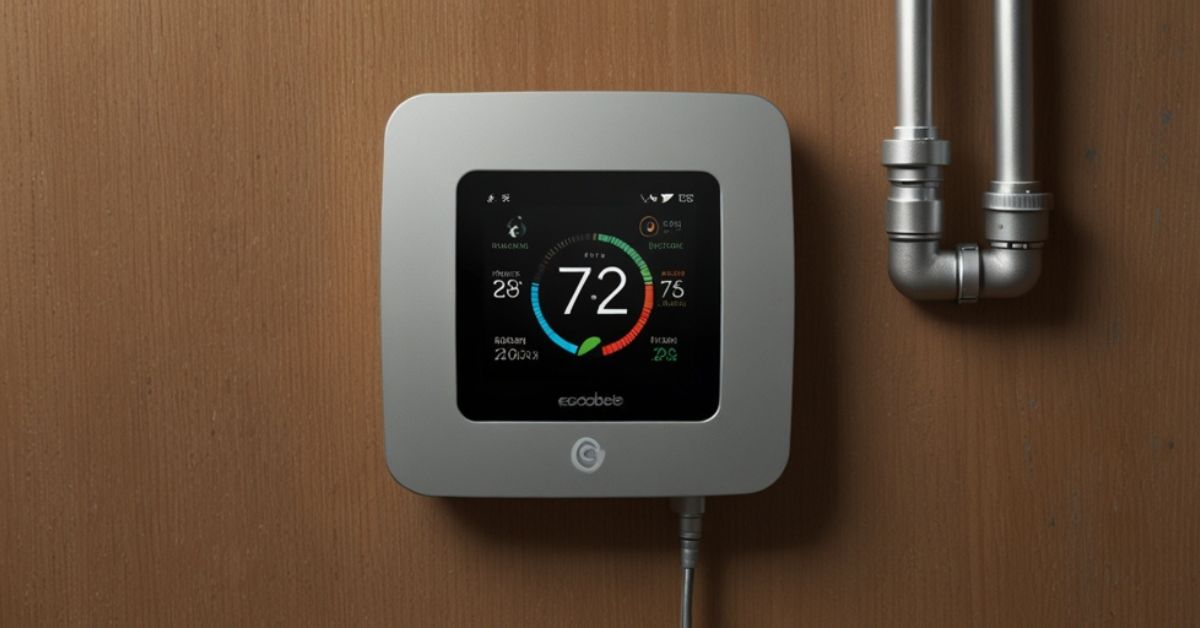
When it comes to home comfort and energy efficiency, upgrading your thermostat can make a world of difference.
Switching from an HZ311 Thermostat to an Ecobee Premium Thermostat not only enhances functionality but also offers intuitive control over your home’s heating and cooling.
In this guide, tech-savvy homeowners will learn how to make the switch, exploring benefits, steps for installation, and troubleshooting tips to ensure a seamless transition.
Understanding the HZ311 and Ecobee Premium Thermostats
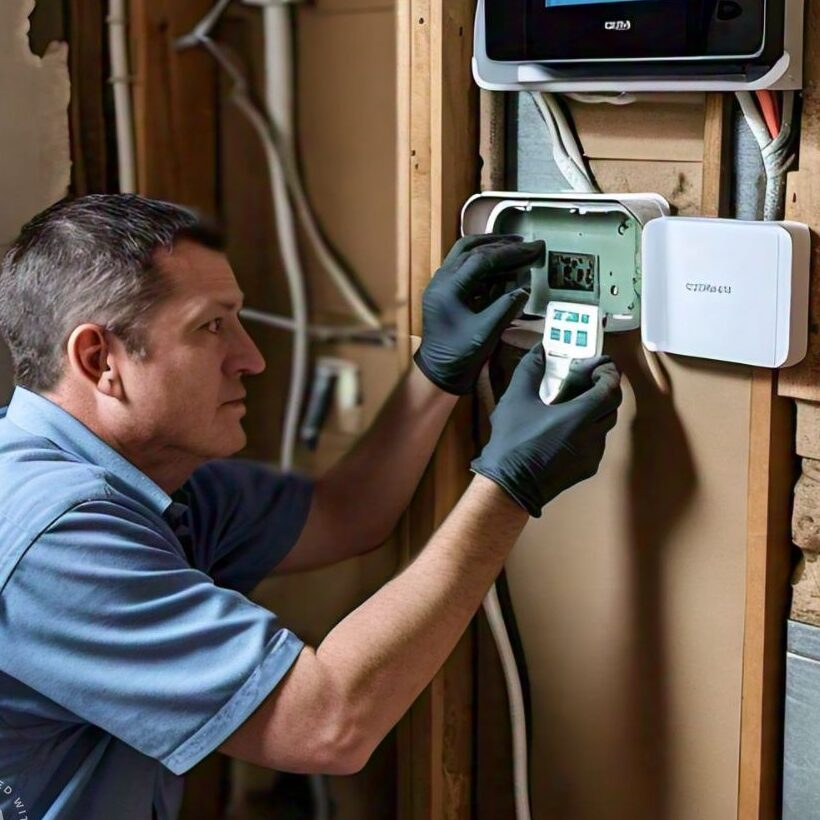
The HZ311 is a widely used thermostat known for its basic zoning capabilities within HVAC systems.
While it’s efficient in managing temperature zones, the technology can feel outdated compared to newer models. Enter the Ecobee Premium Thermostat—a smart, feature-rich device designed to optimize your home environment.
Unlike traditional thermostats, the Ecobee Premium offers smart home integration, advanced scheduling, and energy-saving insights, making it a worthy upgrade for any homeowner.
Benefits of Upgrading to the Ecobee Premium
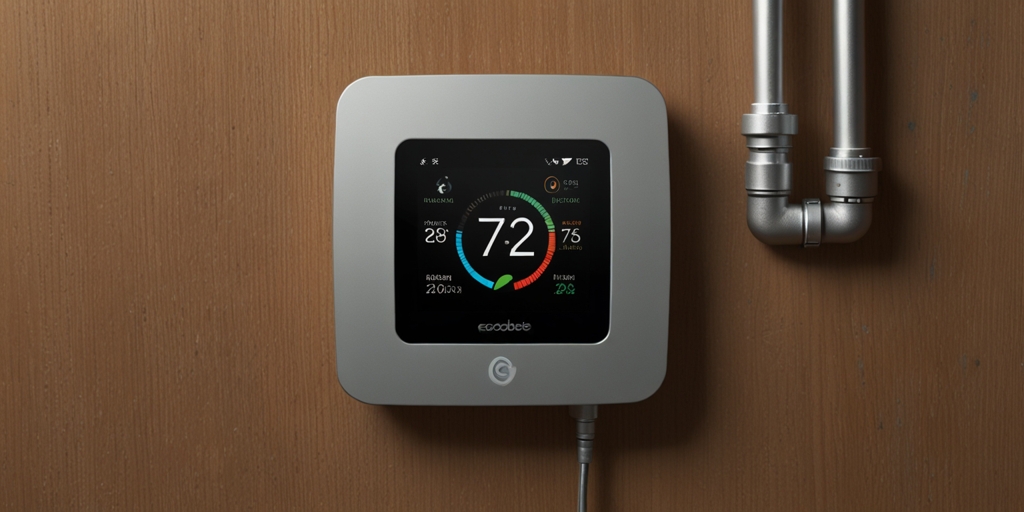
The decision to upgrade to an Ecobee Premium Thermostat is driven by its impressive array of features.
Firstly, energy savings is a significant benefit, with the thermostat learning your schedule and preferences to optimize heating and cooling.
This not only reduces energy consumption but also lowers utility bills. Secondly, the Ecobee integrates seamlessly with smart home systems like Amazon Alexa, Google Assistant, and Apple HomeKit, offering voice control and remote access through your smartphone.
Lastly, the advanced scheduling feature allows for precise temperature control throughout the day, ensuring comfort and efficiency in every corner of your home.
Step 1 Prepare for the Installation
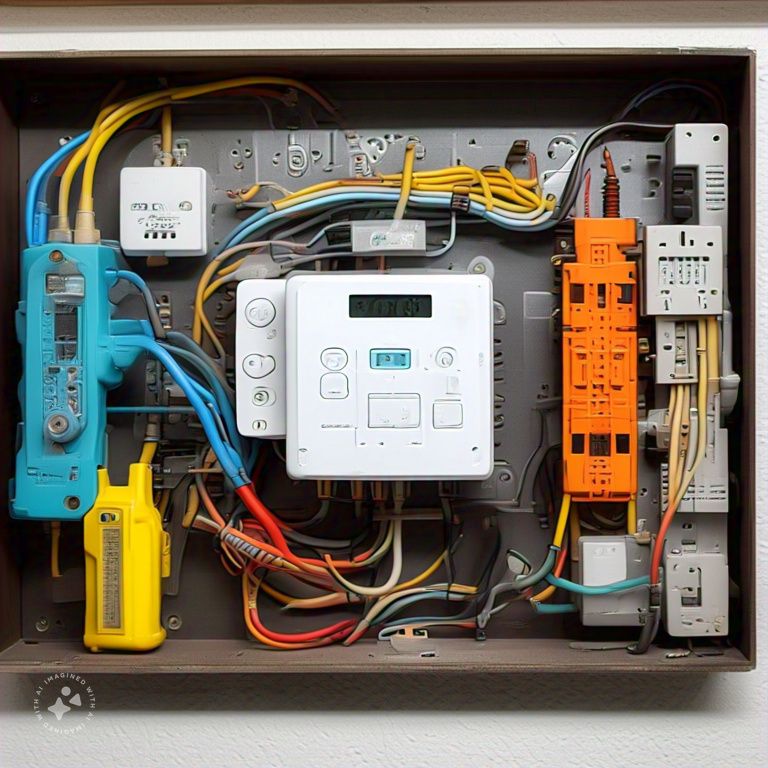
Before you begin, it’s essential to gather all the necessary tools and materials.
You’ll need a screwdriver, wire labels, a voltage tester, and a drill if needed.
These tools will make the process smoother and help avoid any mishaps during installation.

Next, ensure safety by turning off the power to your HVAC system at the circuit breaker.
Working with live wires can be hazardous, so double-check that the power is completely off before proceeding.
Finally, it’s wise to take photos of your current wiring setup.
Having a visual reference of the HZ311 wiring will assist in correctly connecting the new thermostat.
Step 2 Remove the HZ311 Thermostat

With preparations complete, it’s time to remove the old thermostat.
Begin by detaching the HZ311 thermostat cover. Carefully remove it to avoid damaging the internal wiring.
Once exposed, use wire labels to mark each wire according to its terminal on the HZ311 thermostat.
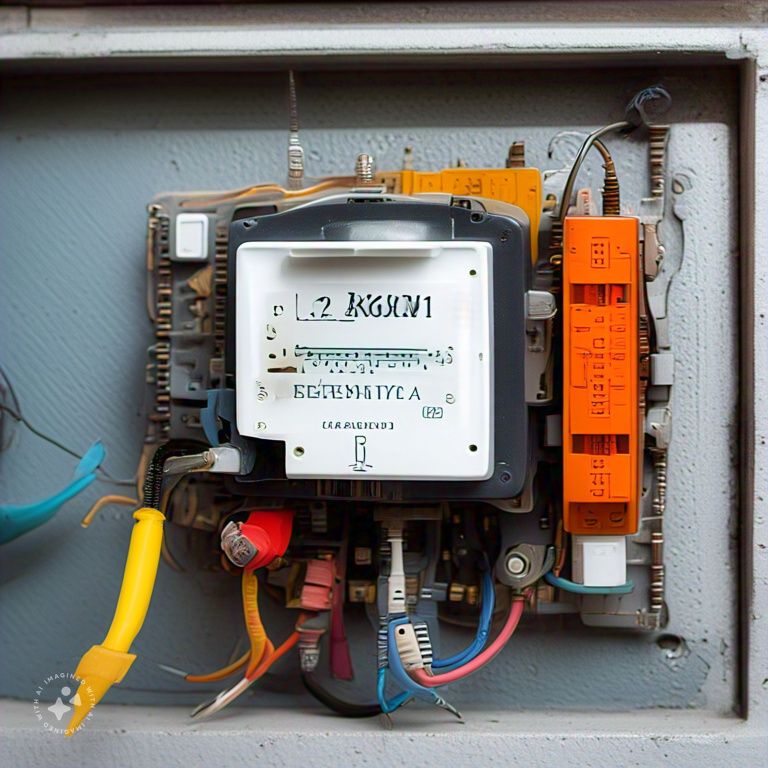
This step is crucial for ensuring that each wire is correctly connected to the new thermostat.
After labeling, gently disconnect each wire by unscrewing or releasing it, and remove the old thermostat from the wall.
Step 3 Install the Ecobee Premium Thermostat Mount
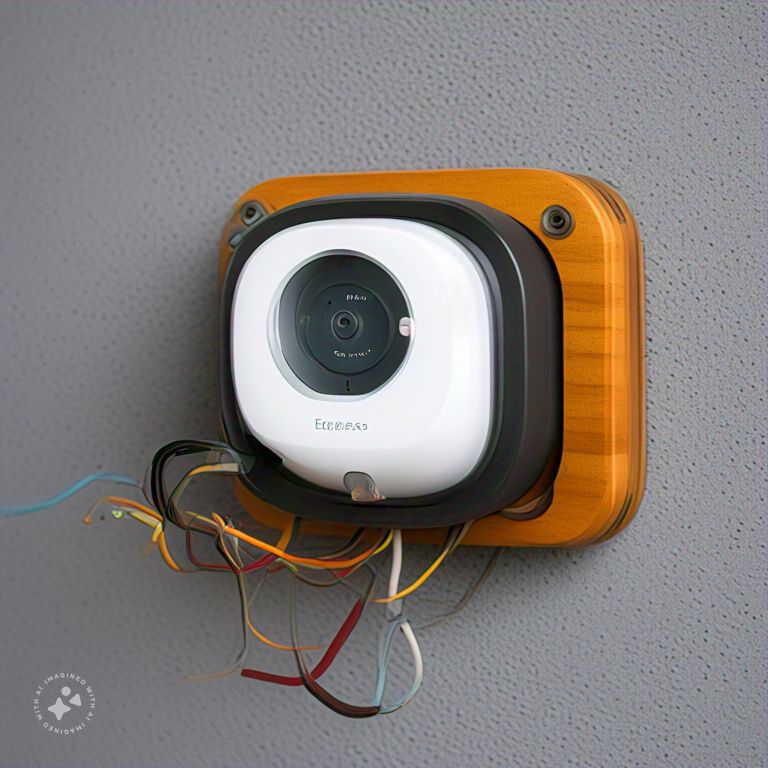
Now that the old thermostat is removed, the next step is to install the Ecobee Premium.
Start by attaching the Ecobee mounting plate to the wall.
Align it properly and secure it using screws, ensuring it’s level for an accurate fit.

Once mounted, connect the wires to the Ecobee base by matching each labeled wire to its corresponding terminal.
If your HVAC system lacks a C-wire, you’ll need to install the Power Extender Kit (PEK).
This kit ensures continuous power to the thermostat, which is essential for its operation.
Step 4 Mount the Ecobee Thermostat
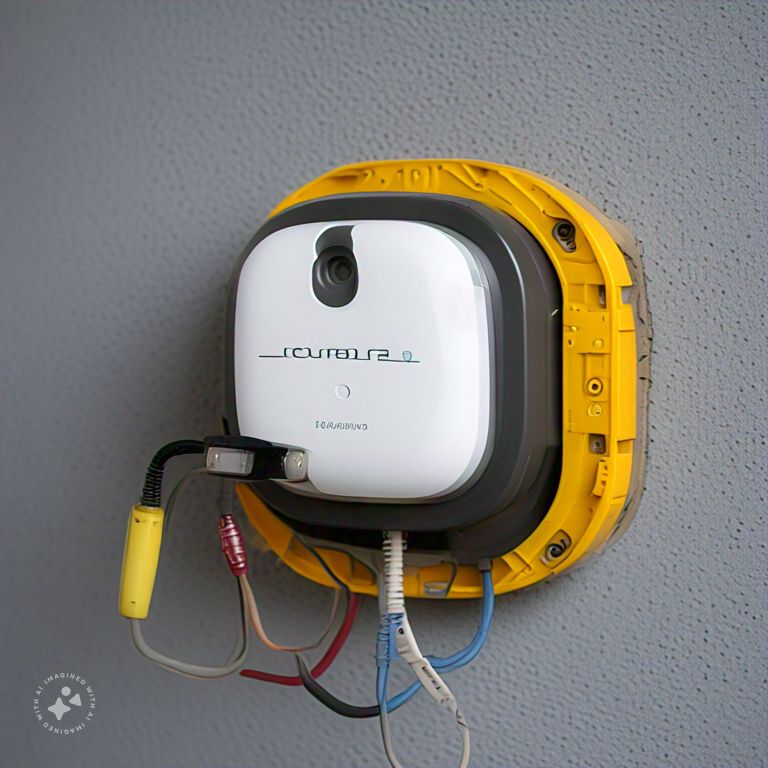
With the mounting plate and wires in place, attach the Ecobee thermostat to the base.
Carefully snap it onto the mounted base, ensuring it’s secure.
Next, restore power to the HVAC system by switching it back on at the circuit breaker.
Confirm that the thermostat powers up and initiates its startup sequence, indicating a successful connection.
Step 5 Configure the Ecobee Thermostat Settings
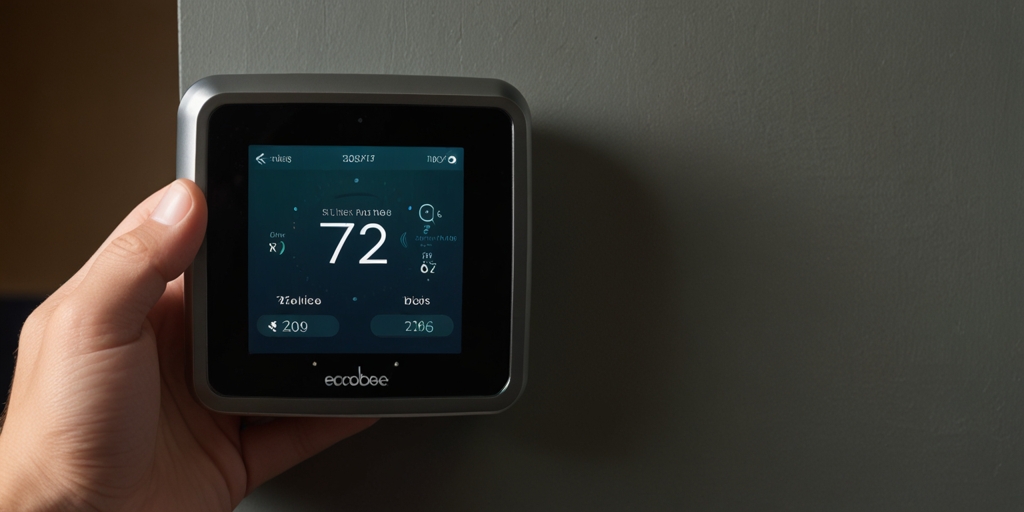
Once powered, it’s time to configure the Ecobee thermostat settings.
The initial setup involves selecting your preferred language, setting the correct time, and connecting to Wi-Fi.
This connectivity allows for updates and remote access via the Ecobee app.
Download and set up the Ecobee app on your smartphone to monitor and control your thermostat remotely.
Finally, configure temperature settings and zones. Adjust the settings for optimal comfort and set up zones if using additional sensors for more precise control.
Step 6 Test the Ecobee Thermostat
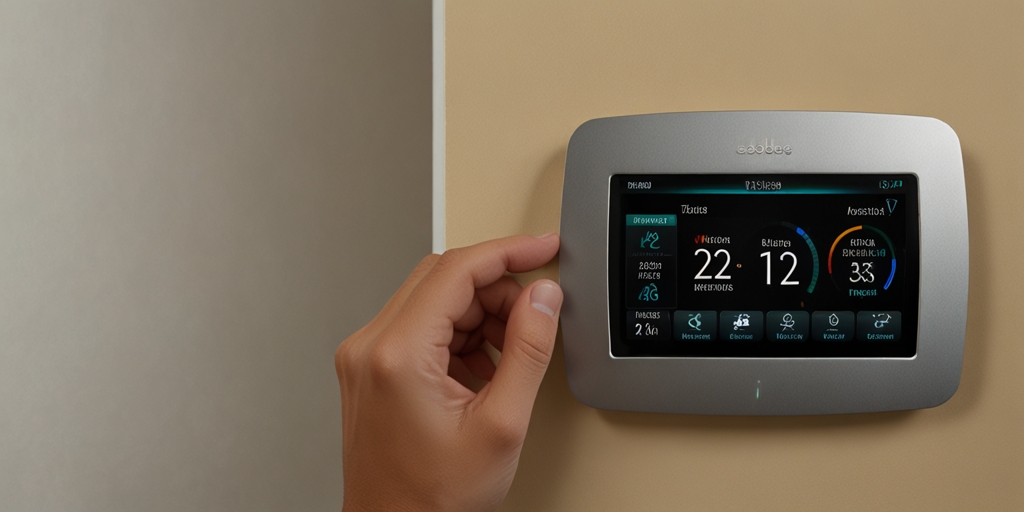
To ensure everything is functioning correctly, run a test of the heating and cooling system.
Activate both modes to confirm that the thermostat can control the system properly.
If your HVAC system includes zones, check compatibility by ensuring each zone responds to Ecobee commands.
Additionally, optimize settings for energy efficiency by enabling energy-saving modes or setting schedules based on personal preferences.
Troubleshooting Common Issues

Even with careful installation, you might encounter issues.
If the thermostat doesn’t power on or connect to Wi-Fi, check the wiring connections and the power source.
For incorrect temperature readings, adjust settings or calibrate the thermostat to ensure accuracy.
Should you see error codes or alerts, consult the Ecobee manual to identify and resolve common installation or setup issues.
Conclusion
Switching from an HZ311 to an Ecobee Premium Thermostat is a valuable upgrade for tech-savvy homeowners seeking enhanced control and energy efficiency.
The Ecobee offers numerous benefits, from smart home integration to advanced scheduling features that cater to modern living. To maintain optimal performance, consider periodic checks and cleaning.
With this step-by-step guide, you’re equipped to make the switch confidently, ensuring a more comfortable and efficient home environment. For further resources or assistance, explore Ecobee’s support options and community forums to maximize your new thermostat’s potential.

