The starter relay is a crucial component in your vehicle’s starting system. It plays a vital role in connecting the battery to the starter motor, allowing you to start your engine. However, like any other electrical component, the starter relay can malfunction, preventing your vehicle from starting. In this article, we will guide you on how to test a starter relay and diagnose any potential issues.
Gather Essential Tools and Information
Before you begin testing the starter relay, make sure you have the following tools and information:
A multimeter (digital or analog)
A wiring diagram for your specific vehicle
The location of the starter relay in your vehicle
Locate the Starter Relay
The starter relay is usually located in the engine compartment or on the fender well. It may be mounted on a bracket or attached to the wiring harness. Consult your vehicle’s repair manual or wiring diagram to determine the exact location of the starter relay in your vehicle.
Disconnect the Battery
Before testing the starter relay, disconnect the negative (black) cable from the battery to prevent any accidental engine starts or electrical shocks.
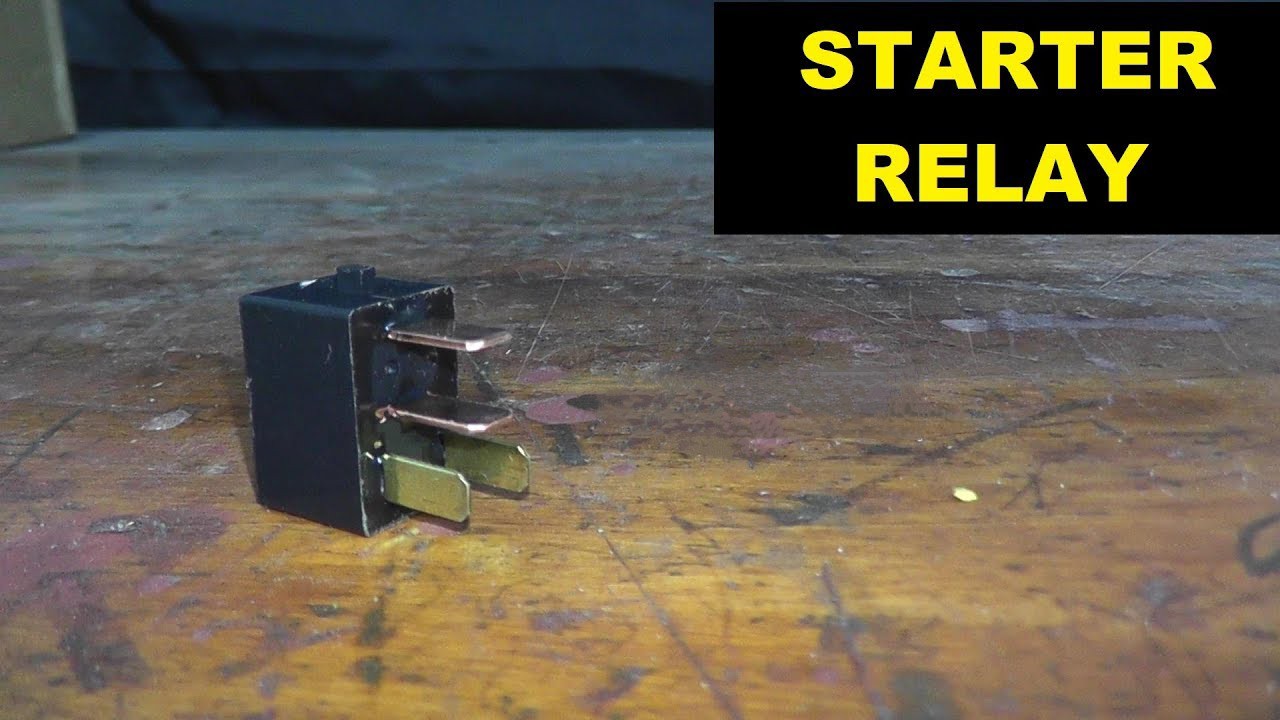
Identify the Starter Relay Terminals
The starter relay typically has four terminals:
Terminal 1: Battery positive (B+)
Terminal 2: Starter motor positive
Terminal 3: Ignition switch positive
Terminal 4: Ground (GND)
Perform a Visual Inspection
Visually inspect the starter relay for any signs of damage, such as burns, rust, or corrosion. Check the terminals for any loose connections or debris. Make sure the relay is securely mounted and not damaged.
Test the Starter Relay
Use a multimeter to test the starter relay. Set the multimeter to the ohms (Ω) function and measure the resistance between the terminals. Compare your readings to the manufacturer’s specifications.
Terminal 1 to Terminal 2: Should read 0 ohms (closed circuit)
Terminal 1 to Terminal 3: Should read infinity (open circuit)
If your readings do not match the manufacturer’s specifications, the starter relay may be faulty.
Test the Starter Relay with a Test Light
Use a test light to test the starter relay. Connect the test light to the battery positive (B+) terminal and touch the other end to each terminal on the starter relay. Observe the test light’s behavior:
Terminal 1: Should illuminate the test light when the ignition switch is in the “start” position
Terminal 2: Should not illuminate the test light
If the test light does not illuminate as expected, the starter relay may be faulty.
Replace the Starter Relay (If Necessary)
If your tests indicate a faulty starter relay, replace it with a new one. Make sure to purchase a relay that matches your vehicle’s specifications. Consult your vehicle’s repair manual for instructions on replacing the starter relay.
Conclusion
Testing a starter relay is a relatively simple process that can help you diagnose issues with your vehicle’s starting system. By following the steps outlined in this article, you can determine if the starter relay is faulty and replace it if necessary. Remember to always consult your vehicle’s repair manual and follow proper safety procedures when working with electrical systems.