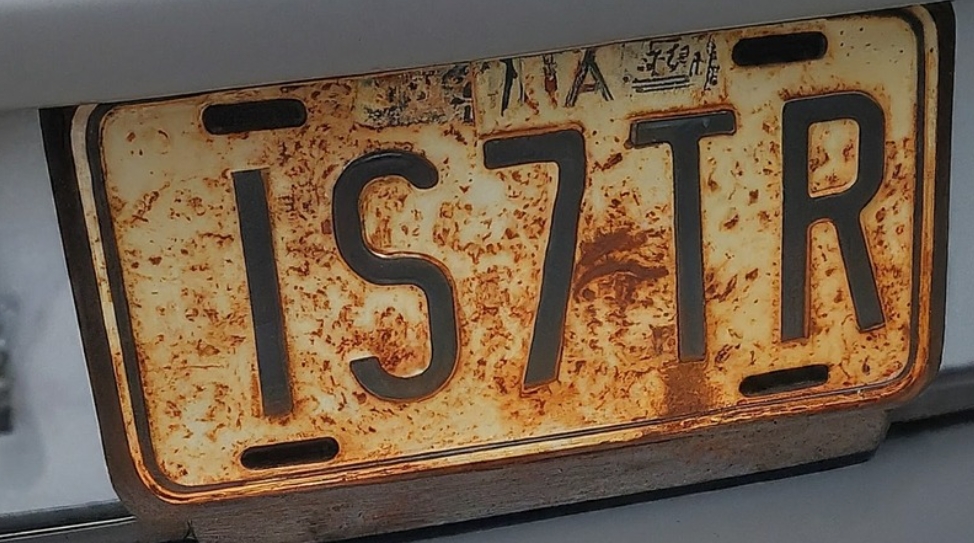
Rust on a license plate can be both an eyesore and a potential issue with vehicle inspections. Fortunately, how to remove rust from a license plate is a manageable task that can be done with a few household items or specialized products. This guide will walk you through the steps to restore your license plate to its original condition.
Understanding Rust and Its Impact
What is Rust?
Rust is a type of corrosion that occurs when iron or steel reacts with oxygen and moisture. This chemical reaction forms iron oxide, which weakens the metal and creates a reddish-brown flaky substance on the surface.
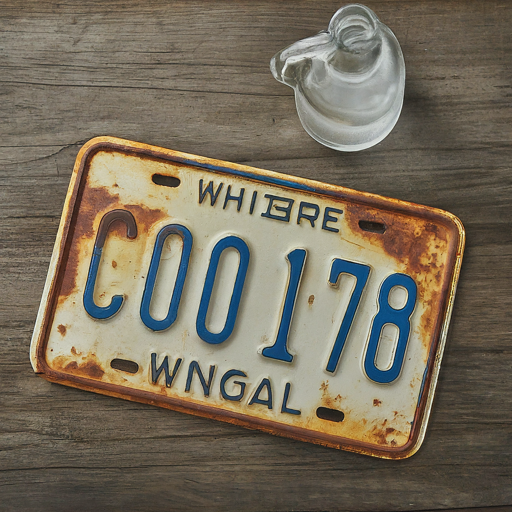
Why is Rust a Problem?
Rust can damage the structural integrity of the metal, making it brittle and weak. On a license plate, rust can obscure important information, making it difficult to read. This can lead to issues with law enforcement and vehicle inspections.
Preparing for Rust Removal
Gather Your Materials
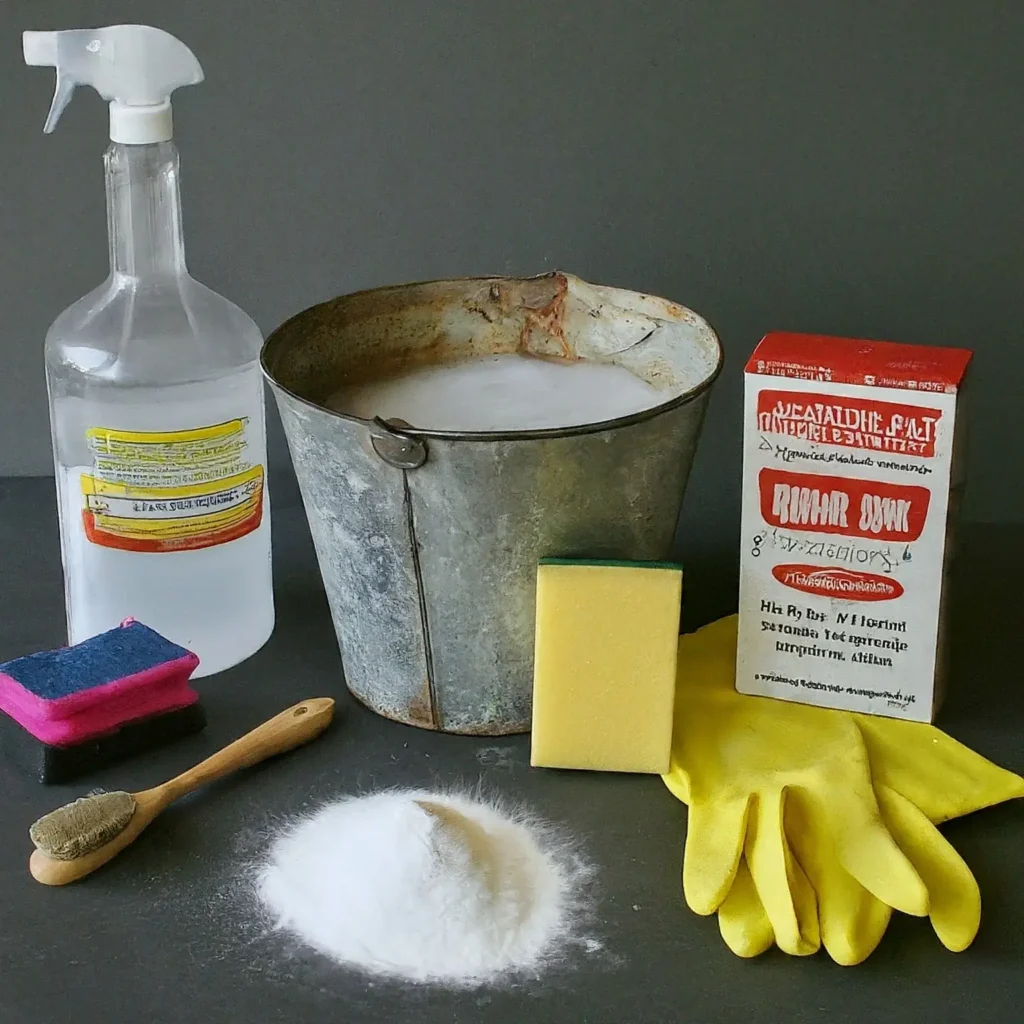
Before you start, ensure you have all the necessary materials. Here’s a list of what you’ll need:
- Safety gloves
- Safety goggles
- Dust mask
- Wire brush or steel wool
- Sandpaper (medium and fine grit)
- Rust remover solution or white vinegar
- Baking soda
- Water
- Clean cloths
- Primer
- Touch-up paint
- Clear coat spray
Safety Precautions
Always wear safety gloves, goggles, and a dust mask when dealing with rust removal. The rust particles and chemicals used can be harmful if they come into contact with your skin or eyes, or if inhaled.
How to Remove Rust from a License Plate: Step-by-step Guide
Step 1: Remove the License Plate
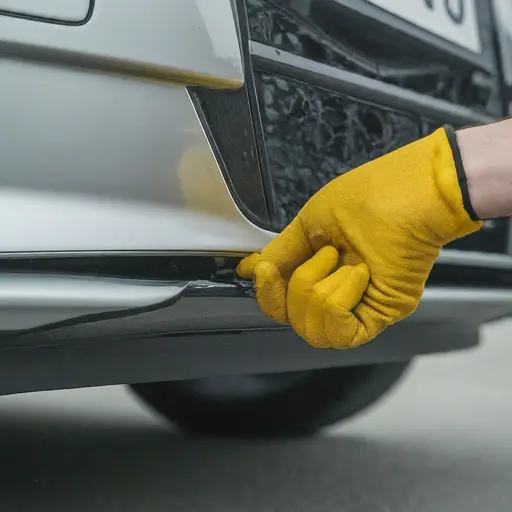
Using a screwdriver, carefully remove the license plate from your vehicle. This will make it easier to work on and ensure you can access all rusty areas.
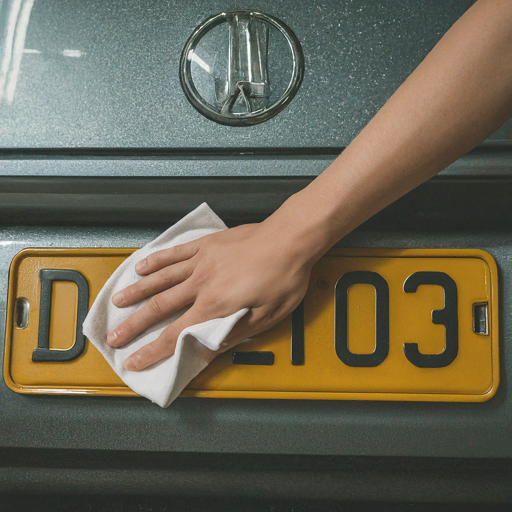
Step 2: Clean the License Plate
Wash the license plate with soapy water to remove any dirt and debris. Rinse it thoroughly and dry it with a clean cloth. This step ensures that you have a clear view of the rust-affected areas.
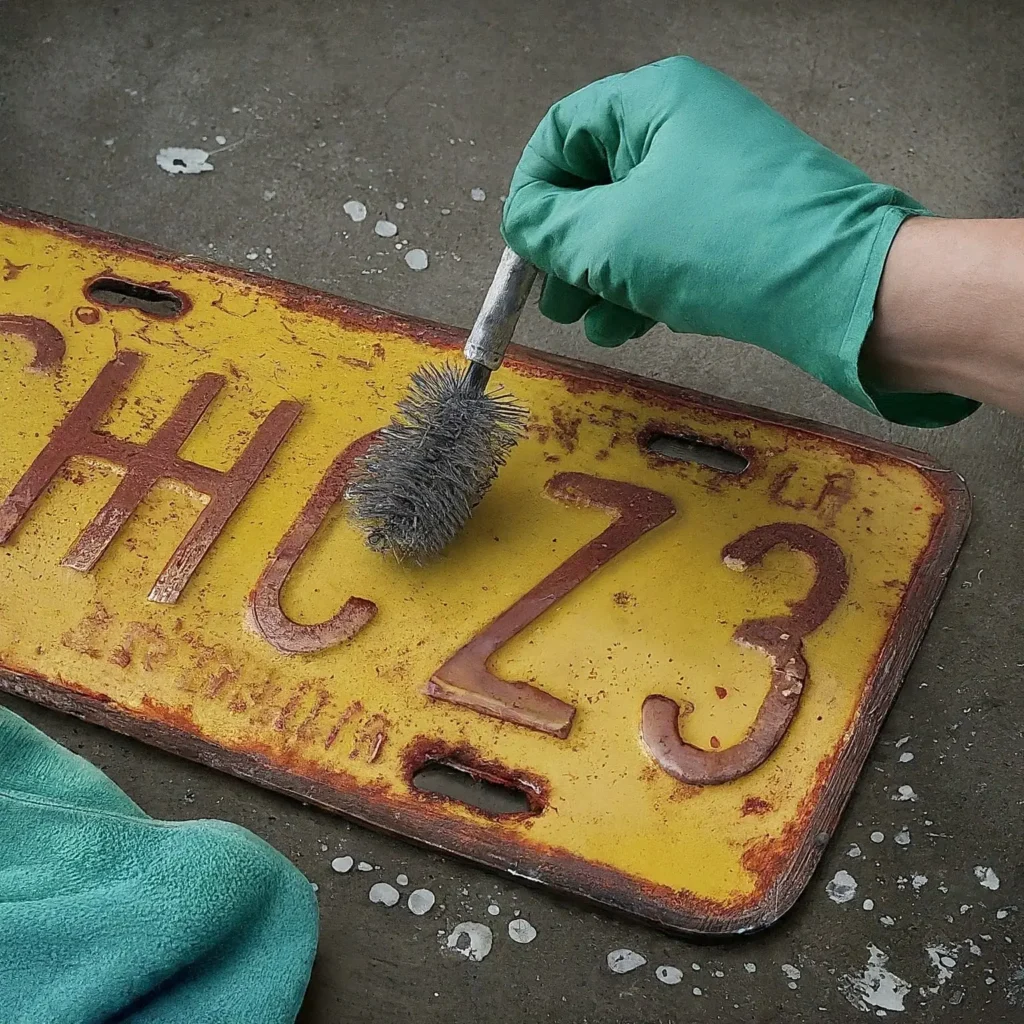
Step 3: Scrape Off Loose Rust
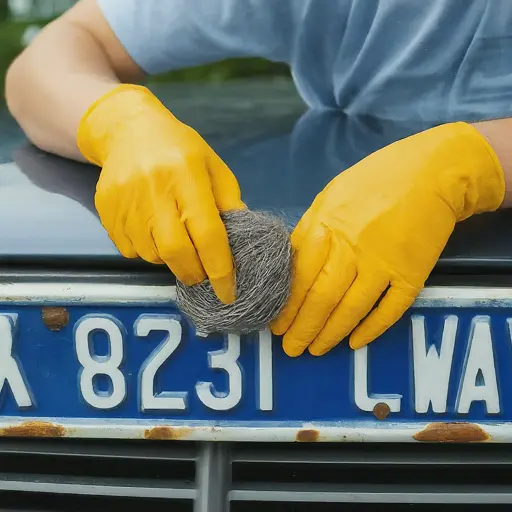
Use a wire brush or steel wool to scrub away any loose rust from the surface of the license plate. This will help to expose the more stubborn rust that needs to be treated.
Step 4: Apply Rust Remover or White Vinegar
Using a Commercial Rust Remover
Apply a commercial rust remover to the affected areas according to the manufacturer’s instructions. These products often contain chemicals that react with rust, making it easier to remove.
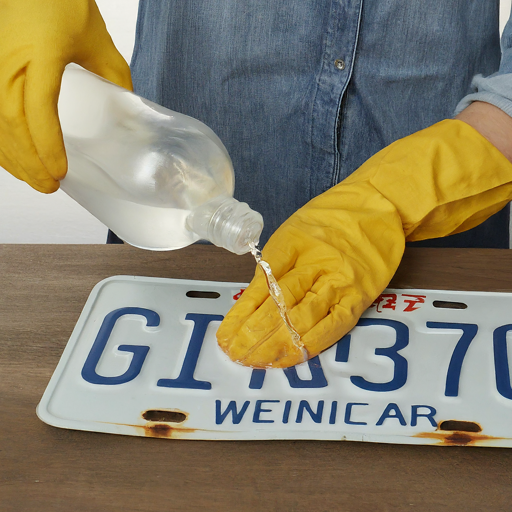
Using White Vinegar
If you prefer a more natural solution, soak a cloth in white vinegar and place it over the rusted areas. Let it sit for a few hours. The acetic acid in the vinegar helps to dissolve the rust.
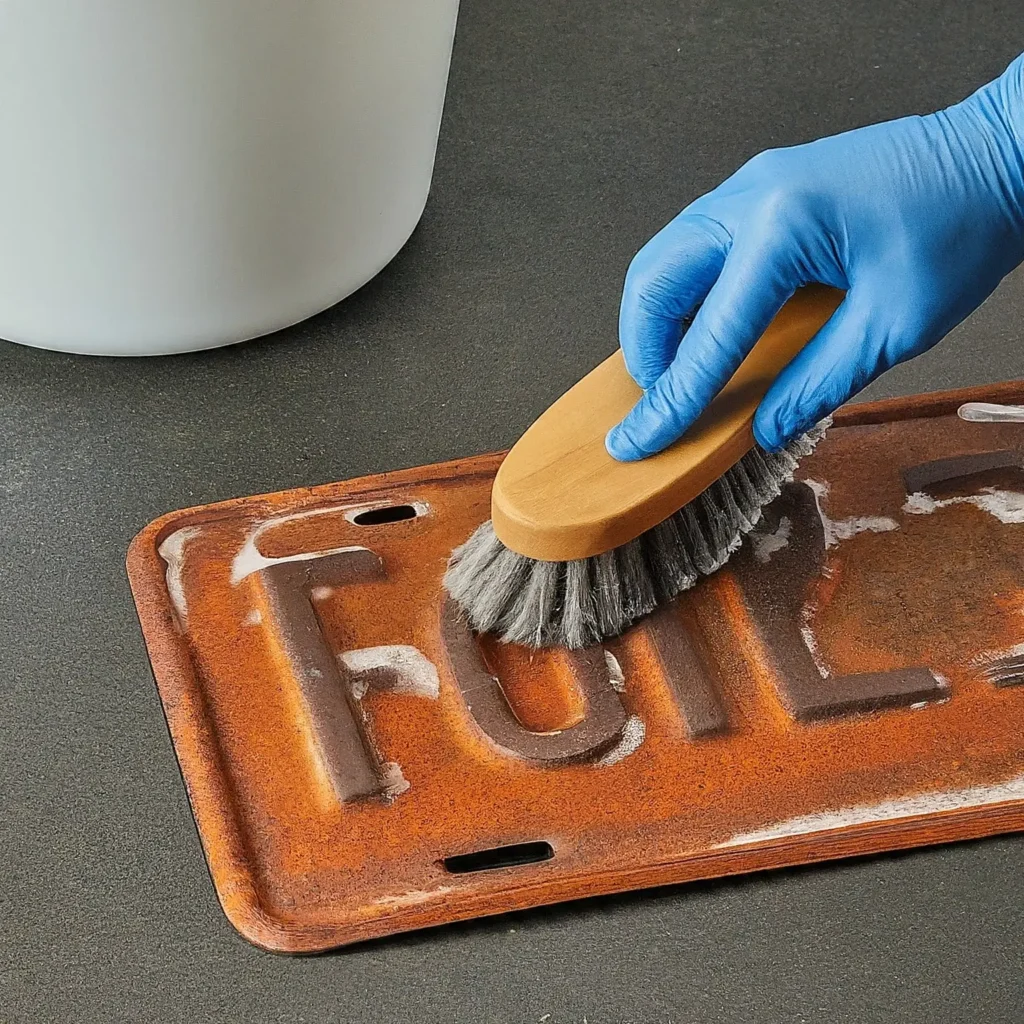
Step 5: Scrub the Rust Away
After the rust remover or vinegar has had time to work, scrub the rusted areas again with the wire brush or steel wool. For stubborn rust spots, use medium-grit sandpaper to sand the area down to the bare metal.
Step 6: Neutralize the Rust Remover
Once the rust is removed, it’s essential to neutralize the rust remover. Mix baking soda with water to create a paste and apply it to the treated areas. This will neutralize any remaining acid from the rust remover or vinegar. Rinse thoroughly with water and dry with a clean cloth.
Repairing and Protecting the License Plate
Step 7: Sand the Surface
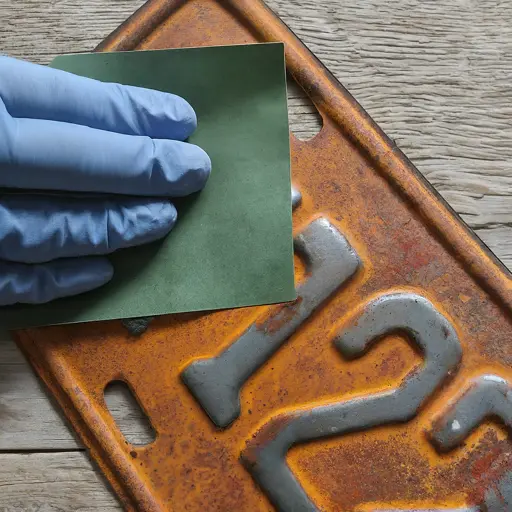
To prepare the surface for painting, use fine-grit sandpaper to smooth out any rough areas. This will help the primer and paint adhere better to the metal.
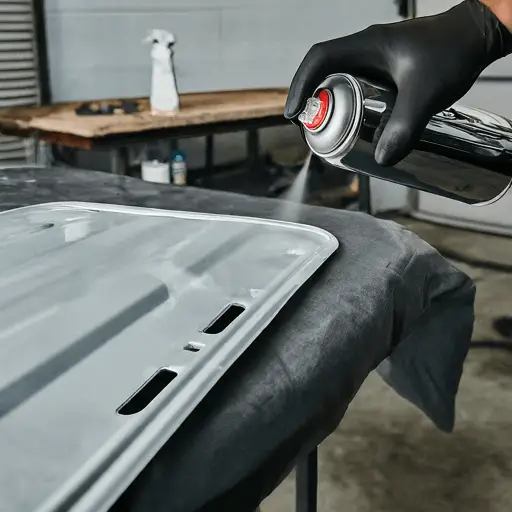
Step 8: Apply Primer
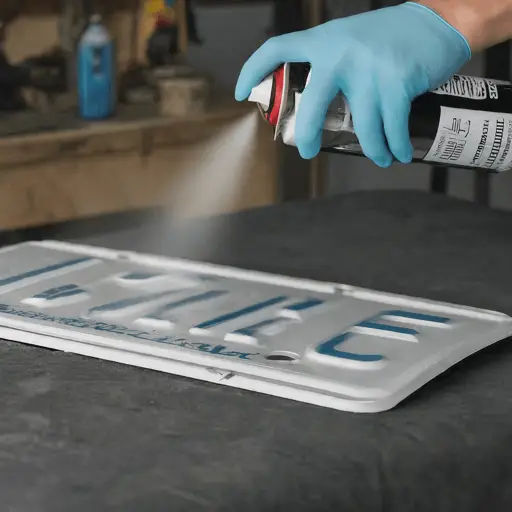
Spray a thin layer of primer onto the license plate. This will help to seal the metal and provide a good base for the paint. Allow the primer to dry completely according to the manufacturer’s instructions.
Step 9: Paint the License Plate
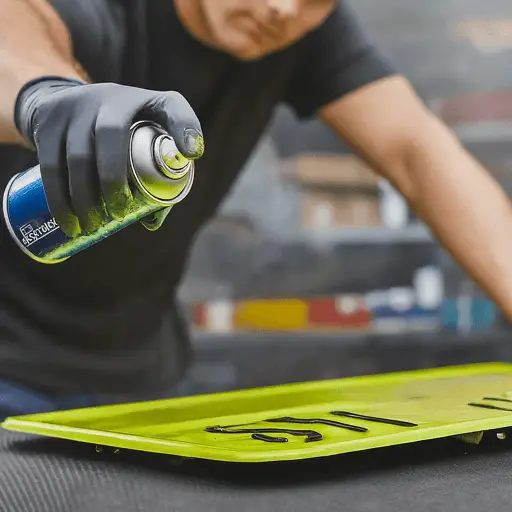
Once the primer is dry, apply touch-up paint that matches the color of your license plate. Use thin, even coats to avoid drips and ensure a smooth finish. Allow each coat to dry completely before applying the next.
Step 10: Apply Clear Coat
To protect the paint and give the license plate a glossy finish, apply a clear coat spray. This will also provide an additional layer of protection against rust. Allow the clear coat to dry completely.
Reinstalling the License Plate
Step 11: Reattach the License Plate
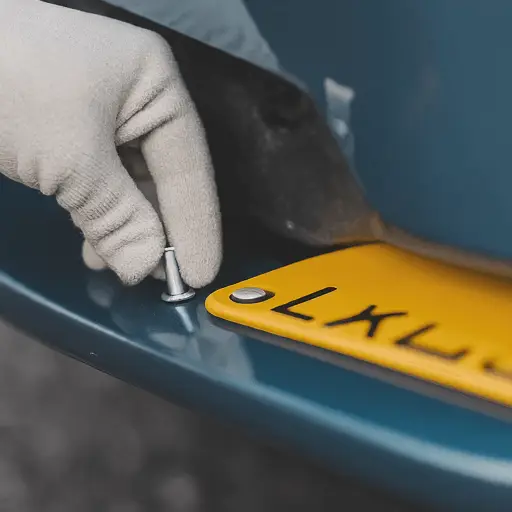
Once the paint and clear coat are completely dry, reattach the license plate to your vehicle using the screws you removed earlier. Make sure it is securely fastened.
Step 12: Regular Maintenance
To prevent rust from returning, regularly clean your license plate and inspect it for signs of rust. Applying a clear protective coating periodically can help keep rust at bay.
Alternative Methods for Rust Removal
Using a Rust Converter
A rust converter is a chemical solution that transforms rust into a stable compound. This method is useful for severe rust that cannot be easily removed. Apply the rust converter according to the manufacturer’s instructions, then paint over the converted rust.
Using Electrolysis
Electrolysis is a more advanced method that involves using electrical current to remove rust. This process requires a power source, electrolyte solution, and a sacrificial anode. It’s effective but more complex and best suited for those with experience in such methods.
Conclusion
Removing rust from a license plate is a straightforward process that can restore the plate’s appearance and extend its lifespan. By following the steps outlined in this guide, you can effectively remove rust and protect your license plate from future corrosion. Regular maintenance and early intervention are key to keeping rust at bay and ensuring your license plate remains in good condition.