A two-line wet kit is an essential hydraulic system setup commonly used in trucking to power various equipment such as dump trailers, walking floors, or other hydraulically operated machinery. Properly installing and plumbing a two-line wet kit is vital for efficient hydraulic performance, ensuring safety, and prolonging the lifespan of the equipment.
In this blog post, we will provide a detailed step-by-step guide on how to plumb a two-line wet kit, explain the components involved, and offer essential tips for installation and maintenance.
What is a Two-Line Wet Kit?
Understanding the Wet Kit System
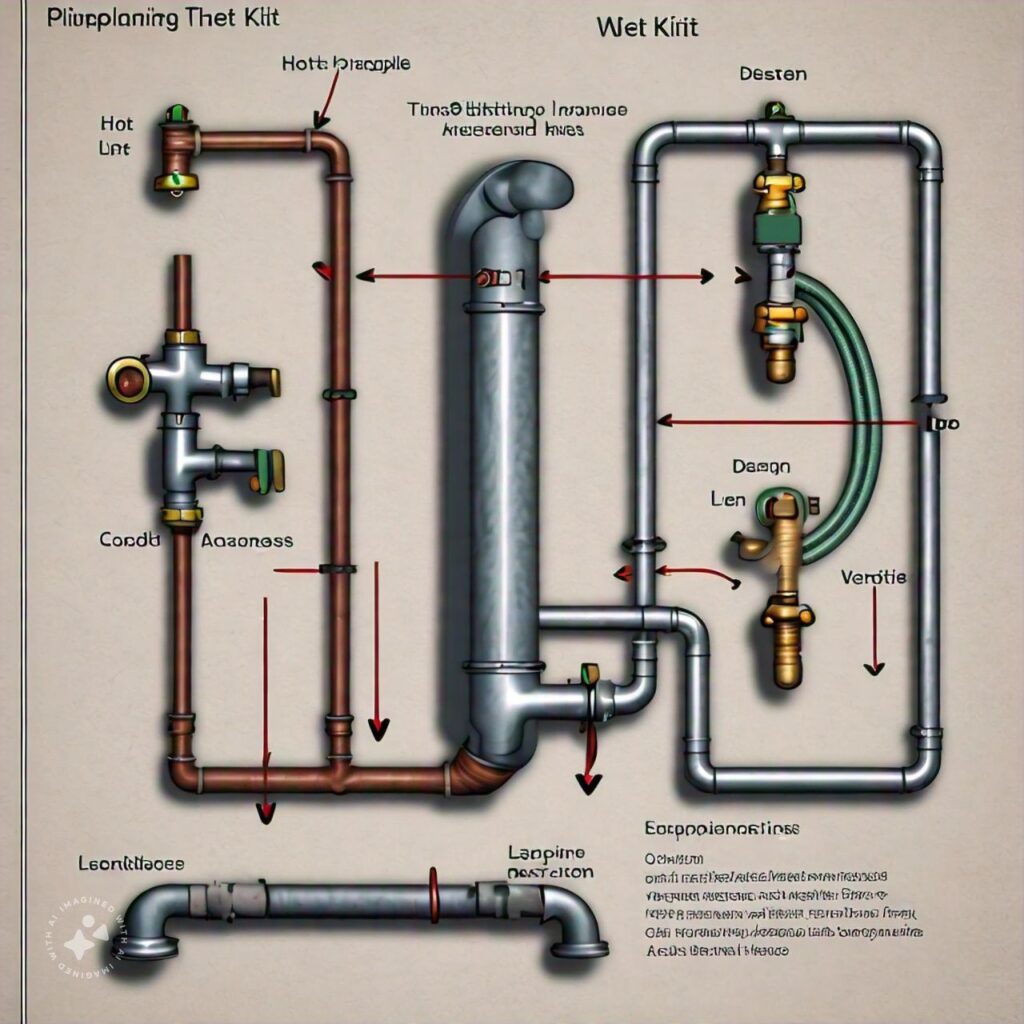
A wet kit, also known as a hydraulic system, is a setup installed on trucks to operate hydraulic equipment, such as dump trailers or moving floors. The system uses hydraulic fluid, which is pressurized by a PTO (Power Take-Off) and a hydraulic pump to control and operate these attachments.
In a two-line wet kit, the system is set up with two hydraulic lines:
- Pressure Line: Carries hydraulic fluid from the pump to the hydraulic equipment.
- Return Line: Returns hydraulic fluid from the equipment back to the hydraulic reservoir.
This setup is ideal for applications with short duty cycles, such as dumping, where the hydraulic system isn’t required to work continuously for long periods.
Components of a Two-Line Wet Kit
Before diving into the installation process, it’s essential to familiarize yourself with the key components of a two-line wet kit:
- PTO (Power Take-Off): This component transfers power from the truck’s engine to the hydraulic pump.
- Hydraulic Pump: The pump pressurizes the hydraulic fluid and sends it through the system to power the equipment.
- Hydraulic Reservoir: Stores the hydraulic fluid when it’s not in use.
- Pressure Line: Delivers pressurized hydraulic fluid to the hydraulic equipment.
- Return Line: Sends the hydraulic fluid back to the reservoir once it has completed its cycle.
- Control Valve: Manages the flow of hydraulic fluid through the system.
Also read – How to Value a Plumbing Business
Tools and Materials Required for Plumbing a Two-Line Wet Kit
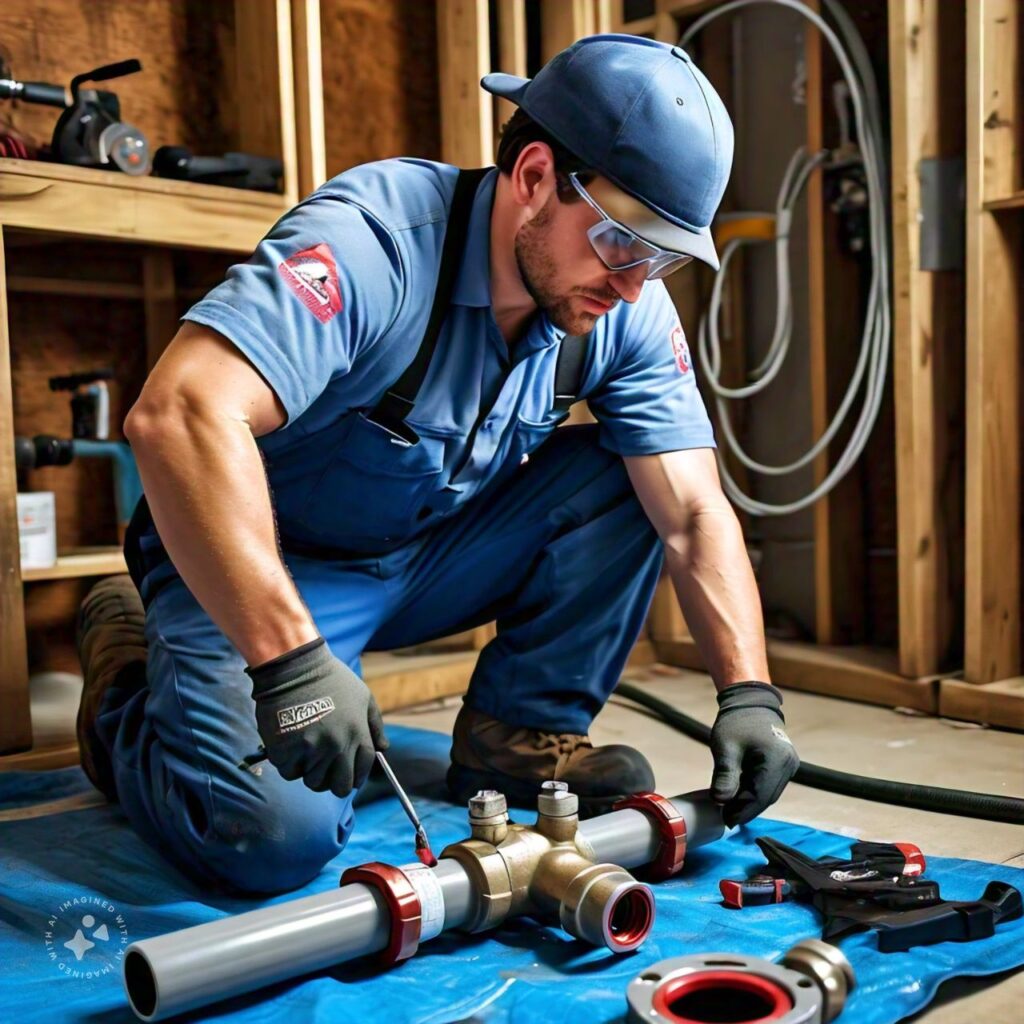
Before starting the installation, ensure you have the right tools and materials. Here’s a list of essentials:
- Wrenches and socket set: For securing and tightening components.
- Hoses: High-pressure hydraulic hoses for the pressure and return lines.
- Hydraulic fittings: Necessary for connecting hoses to the pump, valve, and equipment.
- Teflon tape or hydraulic thread sealant: For sealing the connections and preventing leaks.
- Hydraulic fluid: The correct type of fluid for your system, usually specified by the equipment manufacturer.
- PTO and pump kit: Specific to your truck model and equipment requirements.
Step-by-Step Guide on How to Plumb a Two-Line Wet Kit
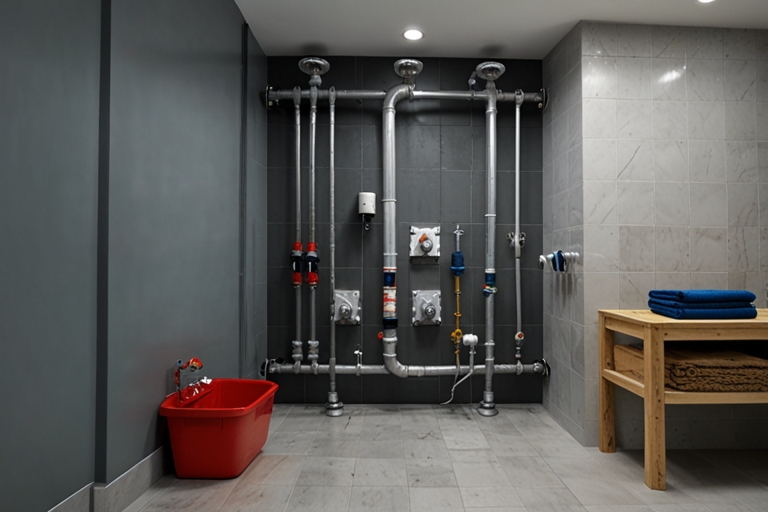
Step 1: Prepare and Plan the Installation
Before you begin the installation process, it’s crucial to:
- Understand the system layout: Check your truck’s hydraulic system manual and determine where each component will be mounted. Having a clear layout plan helps prevent errors and ensures you have enough hose length and space for each component.
- Inspect the truck’s PTO compatibility: Ensure that your truck’s PTO can power the hydraulic pump that comes with the wet kit. The PTO must match the truck’s transmission specifications to work efficiently.
- Safety precautions: Park the truck on a level surface, engage the parking brake, and disconnect the battery to ensure safety throughout the installation process.
Step 2: Install the PTO and Hydraulic Pump
- Install the PTO: The PTO mounts onto the truck’s transmission. Follow the manufacturer’s instructions for proper alignment and mounting. Ensure that the PTO is properly engaged with the transmission to ensure it works efficiently.
- Connect the hydraulic pump: Once the PTO is installed, the next step is to mount the hydraulic pump onto the PTO. Ensure all bolts are securely tightened and use thread sealant to prevent any leaks.
Step 3: Mount the Hydraulic Reservoir
The hydraulic reservoir holds the hydraulic fluid when it’s not in use. Follow these steps to mount the reservoir:
- Choose an appropriate location: The reservoir is typically mounted on the side of the truck’s frame or on a support bracket. It should be mounted higher than the pump to allow gravity to assist with fluid flow.
- Secure the reservoir: Use the provided brackets and fasteners to secure the reservoir to the truck’s frame. Ensure it’s mounted securely and won’t shift during operation.
- Connect the return line to the reservoir: Attach the return line to the reservoir using the correct hydraulic fittings. Ensure the connection is sealed to prevent leaks.
Step 4: Connect the Hydraulic Lines
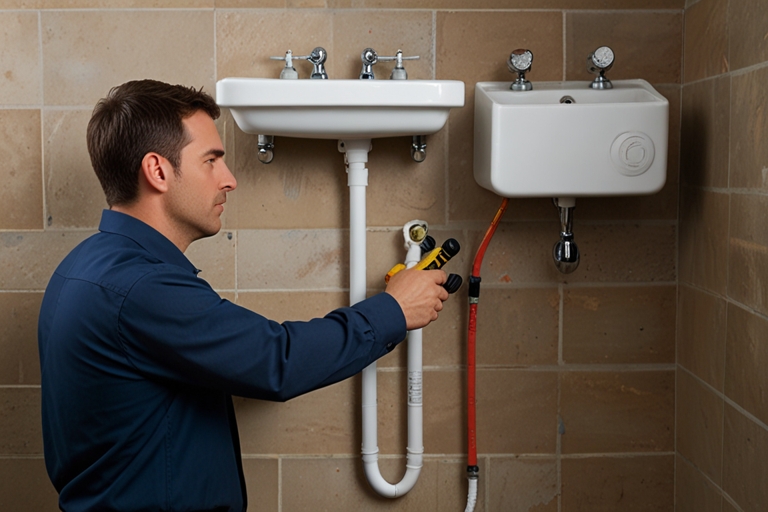
Now, it’s time to connect the pressure and return lines to the system. Follow these steps:
- Connect the pressure line: Attach the pressure line from the pump to the hydraulic equipment (e.g., dump trailer or walking floor). Use high-quality hydraulic fittings and seal the connections with Teflon tape or hydraulic thread sealant.
- Connect the return line: Attach the return line from the hydraulic equipment back to the reservoir. Ensure the connections are sealed tightly to avoid leaks.
- Ensure proper hose routing: Route the hoses in such a way that they are protected from damage, kinks, and abrasion. Secure them with brackets or zip ties, ensuring they won’t rub against moving parts of the truck.
Step 5: Install the Control Valve
The control valve is an important component that regulates the flow of hydraulic fluid to the equipment. Follow these steps for installation:
- Mount the control valve: Choose a convenient location for mounting the valve. The valve should be easily accessible for operation, such as near the driver’s seat or within reach of the operator.
- Connect the valve to the system: Attach the inlet and outlet hoses to the control valve. The inlet hose should come from the pressure line, while the outlet hose will connect to the hydraulic equipment.
- Test the valve: Once connected, operate the control valve to ensure it can direct fluid flow as needed.
Also read – RV Shower Bubble Window 24x24x19x11.5
Step 6: Fill the System with Hydraulic Fluid
After the components are installed and connected, it’s time to fill the system with hydraulic fluid:
- Choose the correct fluid: Make sure you use the hydraulic fluid recommended by the equipment manufacturer.
- Fill the reservoir: Slowly fill the hydraulic reservoir with fluid. As the system will require additional fluid during its first use, ensure you have extra fluid on hand.
- Prime the system: Run the hydraulic pump to prime the system. Operate the control valve to allow fluid to flow through the lines and fill the entire system. Refill the reservoir as needed to maintain the correct fluid level.
Step 7: Test the Wet Kit System
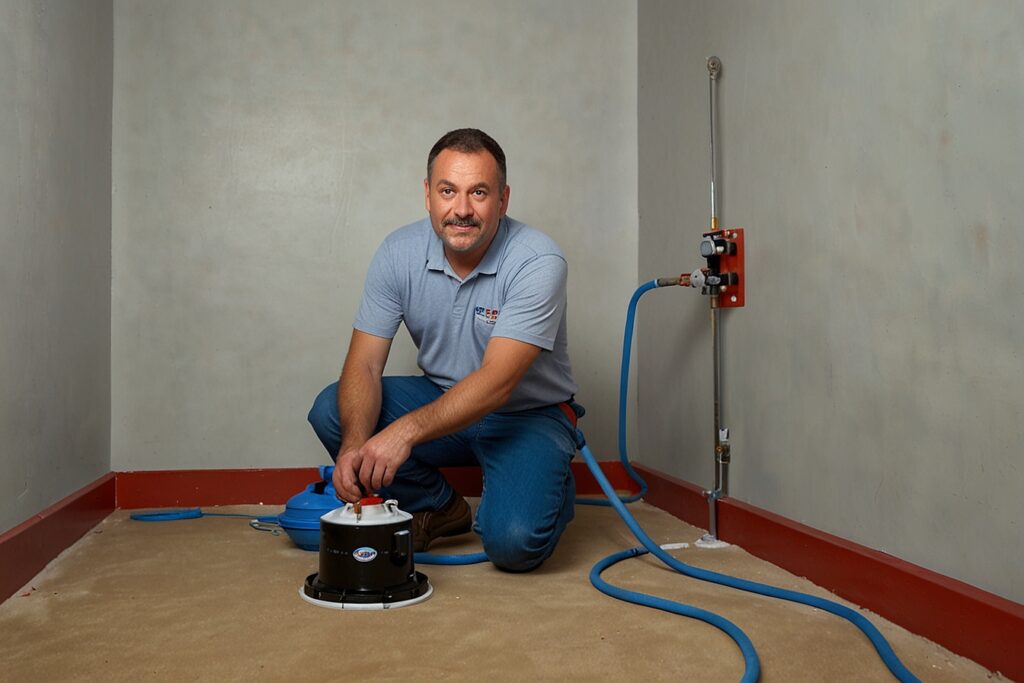
Before taking the truck into operation, it’s essential to test the system:
- Inspect for leaks: With the engine running, engage the PTO and operate the hydraulic equipment. Check all hose connections, fittings, and seals for any signs of leaks.
- Check fluid levels: Ensure the hydraulic fluid is at the correct level after priming and testing the system.
- Operate the equipment: Test the full functionality of the hydraulic equipment (e.g., raise and lower a dump trailer) to ensure everything is working smoothly.
Step 8: Final Adjustments and Maintenance
Once the installation is complete and tested, make any necessary adjustments:
- Tighten fittings: Re-check all fittings and tighten any loose connections to prevent leaks during operation.
- Routine maintenance: Regularly inspect the wet kit system for wear and tear, especially the hoses, fittings, and fluid levels. Proper maintenance ensures long-lasting performance and prevents breakdowns.
Conclusion
Plumbing a two-line wet kit requires careful planning, the right tools, and a thorough understanding of the components involved. By following the steps outlined in this guide, you can successfully install a two-line wet kit that will power your hydraulic equipment efficiently and safely. Remember to regularly maintain the system by checking fluid levels, inspecting hoses, and ensuring that connections remain secure.

