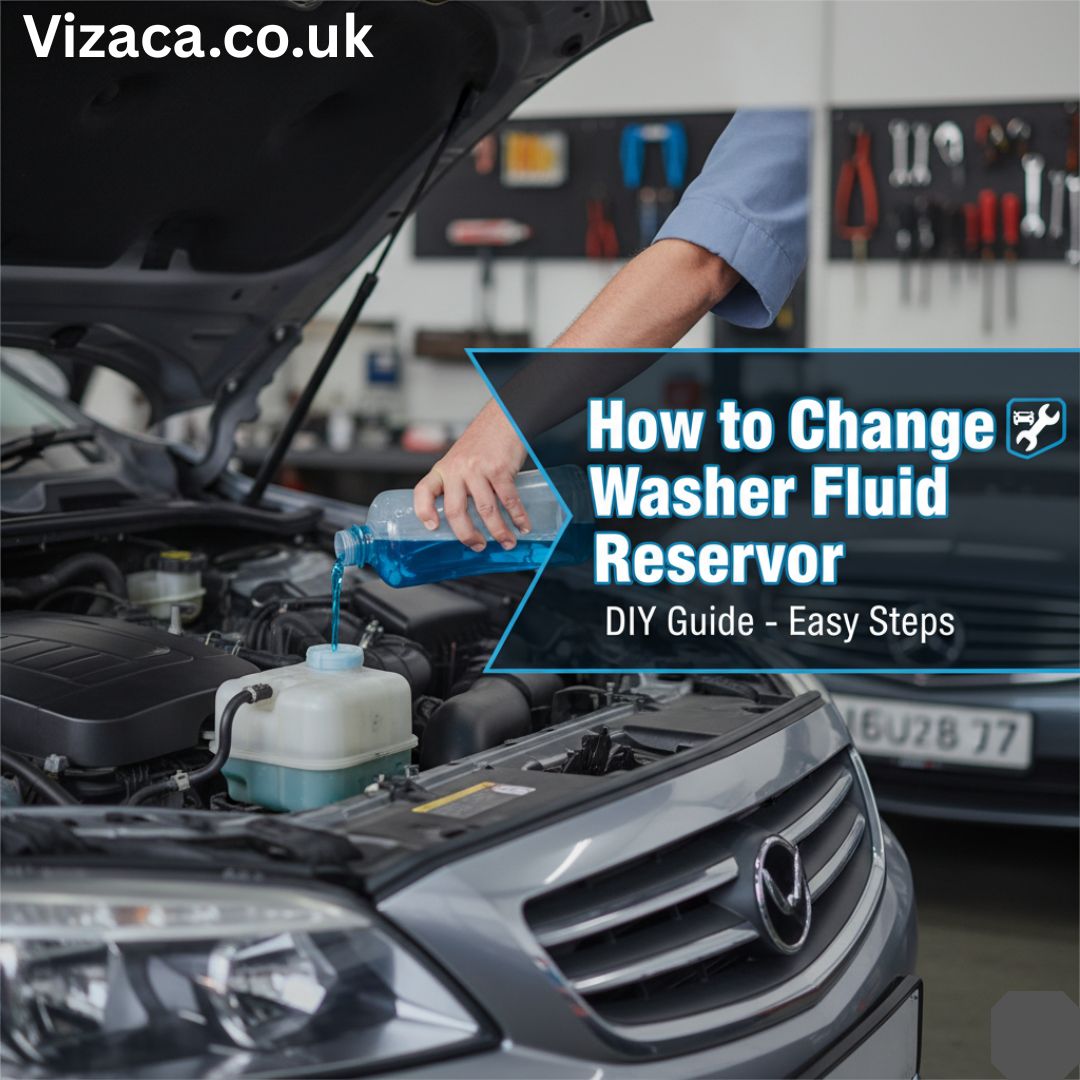
Maintaining a clear windshield is crucial for safe driving. One of the key components that makes this possible is the washer fluid reservoir, which stores the cleaning fluid used by your windshield wipers. Over time, this reservoir can become cracked, clogged, or damaged, leading to leaks or failure of the windshield washer system.
If you notice that your windshield washer fluid leaks or your sprayers no longer work properly, it might be time to replace the reservoir. In this comprehensive guide, you’ll learn exactly how to change a washer fluid reservoir yourself, what tools you’ll need, safety tips, and how to avoid common mistakes.
What Is a Washer Fluid Reservoir?
The washer fluid reservoir is a plastic or polymer container located under the hood of your car. It stores windshield washer fluid, which is sprayed onto the windshield via small nozzles when you activate the washer system.
Most vehicles have a translucent reservoir with a cap labeled “Washer Fluid Only.” It usually holds between one and two liters of cleaning solution.
Signs You Need to Replace the Washer Fluid Reservoir
Before removing or replacing any parts, confirm that the reservoir is actually the source of the problem. Below are the most common symptoms of a faulty washer fluid reservoir:
- Visible leaks: You notice fluid pooling under the car even when you haven’t used the washer system.
- Empty reservoir: The fluid level drops quickly after refilling.
- Cracks or holes: Physical damage from heat, vibration, or debris.
- Malfunctioning sprayers: Even after refilling, the washer fluid doesn’t reach the windshield.
- Low washer fluid light: The warning indicator stays on even when you’ve topped up the fluid.
If you see any of these issues, replacing the reservoir is likely necessary.
Tools and Materials You’ll Need
Changing the washer fluid reservoir doesn’t require specialized tools, but preparation helps make the job easy and clean. Here’s what you’ll need:
- New washer fluid reservoir (specific to your vehicle model)
- Screwdrivers (Phillips and flat-head)
- Socket wrench set
- Pliers
- Funnel
- Car jack and stands (if the reservoir is located beneath the fender)
- Clean rags or towels
- Replacement hose clips (if the old ones are rusted)
- Washer fluid (for refilling)
- Safety gloves and goggles
Having all tools ready before you begin saves time and reduces mistakes.
Step 1: Park Safely and Prepare the Vehicle
Start by parking your car on a flat, stable surface. Turn off the engine, set the parking brake, and allow the engine bay to cool.
If your car’s washer fluid reservoir is located under the hood (which is common), you can access it directly. However, some vehicles—especially compact or luxury models—place it behind the bumper or fender. In that case, you’ll need to raise the front of the vehicle using a car jack and jack stands for safe access.
Always wear safety gloves and goggles to protect your hands and eyes from debris and fluid splashes.
Step 2: Locate the Washer Fluid Reservoir
Open your car’s hood and find the washer fluid reservoir. It’s typically:
- On either side of the engine bay, near the windshield, or behind the headlights.
- Marked with a blue or black cap that shows a windshield symbol and water spray icon.
If you’re unsure, refer to your vehicle’s owner’s manual. The manual provides an exact diagram showing the location of the washer fluid reservoir.
Step 3: Disconnect the Battery (Optional but Recommended)
Although washer systems operate on low voltage, disconnecting the negative terminal of the battery is a good safety measure. It prevents accidental electrical shorts, especially if your reservoir is connected to an electronic fluid-level sensor or pump.
Use a wrench to loosen the negative terminal and set it aside where it won’t make contact with metal.
Step 4: Drain the Washer Fluid
Before removing the reservoir, drain any remaining washer fluid.
You can do this in two ways:
- Use the washer pump to spray out remaining fluid until empty.
- Manually drain it by disconnecting the lower hose from the reservoir.
Place a container or tray underneath to catch the fluid. Dispose of it responsibly or reuse it if it’s clean and uncontaminated.
Step 5: Disconnect the Washer Pump and Hoses
Most washer reservoirs have one or two pumps attached to them — one for the windshield and sometimes another for the rear window.
Carefully follow these steps:
- Unplug the electrical connector from the pump.
- Remove the rubber washer hoses attached to the pump outlet.
- If necessary, label each hose using masking tape to remember which one goes where.
Be gentle — pulling too hard can break the plastic fittings.
Step 6: Remove Bolts and Clips Holding the Reservoir
Next, locate the bolts or screws that secure the reservoir to the vehicle’s body.
- Use a socket wrench to remove them.
- Some reservoirs also have plastic clips that can be pried off with a flat-head screwdriver.
Once all bolts and clips are removed, carefully lift out the old reservoir. If it feels stuck, check for any remaining hidden fasteners or hoses still attached.
Step 7: Compare the Old and New Reservoirs
Before installing the new reservoir, place it beside the old one and check:
- Mounting holes align correctly.
- Hose connectors and pump openings are in the same position.
- The size and shape match.
If the new part differs slightly, recheck the part number or consult your vehicle parts supplier. Installing an incorrect reservoir can cause leaks or misalignment.
Step 8: Transfer Components (If Necessary)
Some vehicles have detachable washer pumps, sensors, or rubber grommets mounted on the old reservoir. You’ll need to move these to the new one.
- Gently remove the pump and clean its rubber seal.
- Transfer the seal and insert the pump into the new reservoir.
- Make sure the fit is tight to prevent leaks.
This step ensures your washer system continues working properly with the new container.
Step 9: Install the New Washer Fluid Reservoir
Now it’s time to mount the new reservoir:
- Position it in the same place as the old one.
- Secure it with the bolts and clips.
- Reconnect all hoses to their respective nozzles.
- Plug in the electrical connector for the washer pump.
Double-check that everything is seated correctly and that no hoses are twisted or pinched.
Step 10: Reconnect the Battery and Refill the Reservoir
Once installation is complete:
- Reconnect the negative terminal of your battery.
- Use a funnel to refill the reservoir with fresh washer fluid.
Do not use plain tap water. Use a proper washer fluid that prevents freezing and removes grime efficiently. You can choose formulas based on your climate — summer, winter, or all-season variants.
Step 11: Test the Washer System
Before closing the hood, test the washer system to make sure everything works correctly.
- Start the car.
- Activate the windshield washer switch.
- Observe the spray pattern and check for leaks around the reservoir and hoses.
If you notice drips or weak spray, tighten the hose connections and verify that the pump is functioning.
Step 12: Dispose of Old Parts and Fluids Responsibly
Old washer fluid and cracked reservoirs shouldn’t be thrown in household trash.
- Recycle plastic reservoirs if your local waste center accepts automotive parts.
- Dispose of used fluid at an authorized recycling or hazardous waste collection point.
Proper disposal helps keep chemicals and plastics out of the environment.
Common Mistakes to Avoid
Even though replacing the washer fluid reservoir is straightforward, some mistakes can cause issues later. Avoid the following:
- Forgetting to reconnect hoses: This leads to leaks or non-functioning sprayers.
- Overtightening bolts: Can crack the plastic housing.
- Using the wrong fluid: Plain water can freeze and damage the reservoir.
- Skipping the leak test: Always check before finishing the job.
Taking your time ensures a professional-quality repair.
Maintenance Tips for Longer Life
To extend the lifespan of your new washer fluid reservoir:
- Refill with the correct washer fluid, not plain water.
- Clean the cap and filler neck monthly to prevent debris buildup.
- Avoid overfilling the reservoir.
- Check for leaks or cracks twice a year, especially after extreme weather.
Simple habits like these keep your washer system efficient and your windshield crystal clear.
When to Seek Professional Help
If your car model places the washer fluid reservoir behind the bumper or under other major components, it might be tricky to access.
In such cases, visiting a professional mechanic can save time and prevent accidental damage. They have the tools and expertise to perform the job safely and quickly.
Conclusion
Knowing how to change a washer fluid reservoir can save you both time and money while helping you understand your vehicle better. It’s a relatively simple DIY task that doesn’t require deep mechanical knowledge — just patience, the right tools, and careful handling.
By following the steps in this guide — from preparation and draining the old reservoir to installing and testing the new one — you can confidently maintain your car’s windshield cleaning system.
A functioning washer fluid reservoir keeps your view clear, your drive safe, and your car performing at its best. Whether you’re dealing with cracks, leaks, or complete failure, now you know exactly how to fix it yourself.