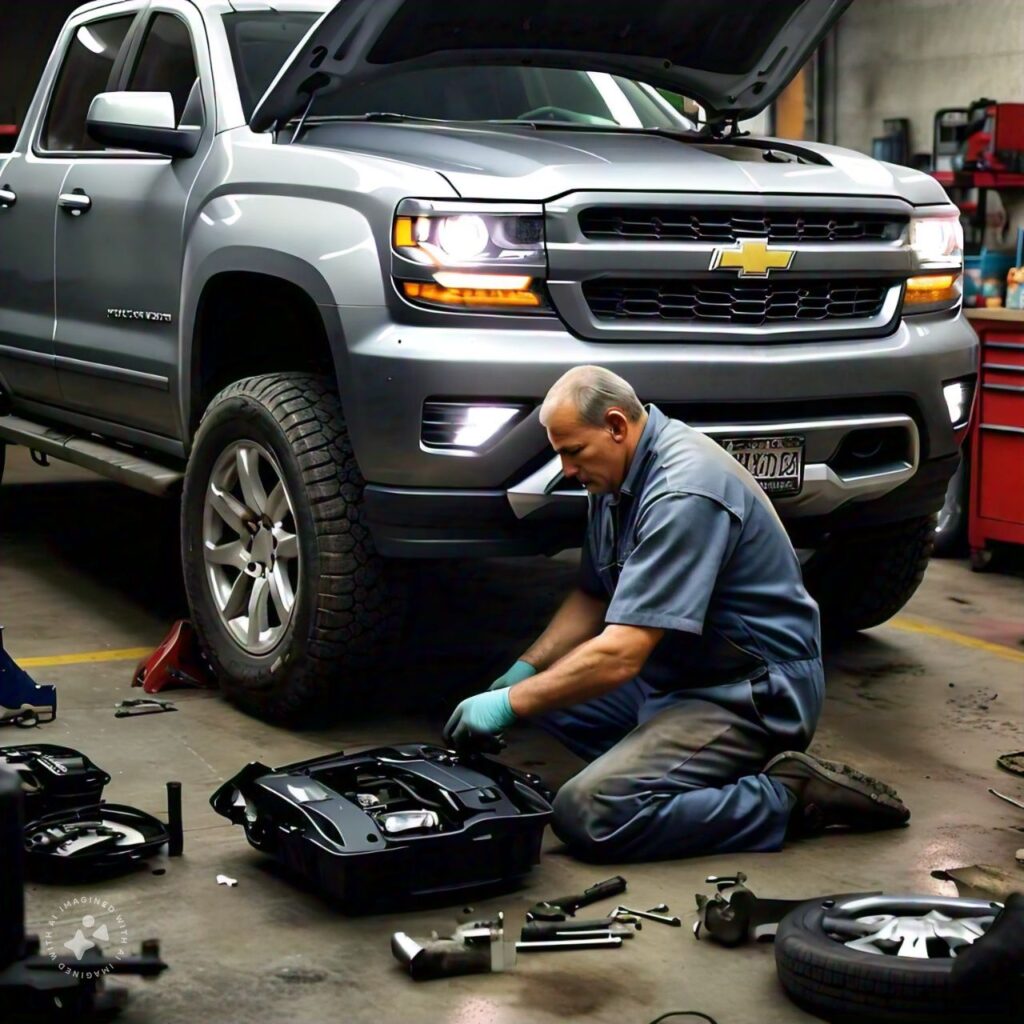
If you own a 2015 Chevy Silverado, keeping your vehicle’s headlights in top condition is essential for both your safety and the safety of others on the road. Over time, headlight bulbs can burn out or become dim, making it necessary to replace them. Fortunately, changing the headlight on a 2015 Chevy Silverado is a straightforward task that you can do yourself with minimal tools. In this guide, we will walk you through the step-by-step process of changing a headlight bulb on your Silverado, ensuring that you get back on the road with optimal visibility.
Why Replace Your Headlight?

The Importance of Working Headlights
Headlights are an essential component of your vehicle’s safety system. They ensure that you can see the road clearly at night or in poor weather conditions and make your vehicle visible to other drivers. Driving with a faulty headlight can be dangerous, as it reduces your visibility and can result in a traffic citation.
Replacing a burned-out or dimming headlight will not only improve safety but also enhance the overall appearance of your vehicle. Luckily, changing the headlight on a 2015 Chevy Silverado is a relatively simple process that requires only basic tools and a few minutes of your time.
Signs Your Headlight Needs Replacing

Before diving into the replacement process, it’s important to know the signs that indicate a headlight needs to be replaced:
- Headlight is completely burned out
- Headlight is dim or flickering
- Cracked or damaged headlight housing
- Discolored or hazy headlight lens
If you notice any of these symptoms, it’s time to replace your headlight bulb.
Tools and Materials Needed

Before you begin, gather the necessary tools and materials. Here’s a checklist to make the replacement process smooth and efficient:
- New headlight bulbs (make sure to buy the correct type for a 2015 Chevy Silverado, typically H11 for low beam and 9005 for high beam)
- Socket wrench set (including 10mm socket)
- Flathead screwdriver
- Torx bit set
- Work gloves (to protect your hands and avoid touching the new bulb)
- Owner’s manual (optional but helpful for reference)
Once you have all the necessary tools and materials, you’re ready to begin the replacement process.
Step-by-Step Guide to Changing a 2015 Chevy Silverado Headlight

Step 1: Open the Hood
The first step in changing the headlight is to open the hood of your 2015 Chevy Silverado. To do this:
- Pull the hood release lever located inside the vehicle, typically near the driver’s side footwell.
- Walk to the front of the vehicle and locate the secondary hood release latch under the center of the hood. Release this latch and lift the hood fully.
- Use the hood prop rod to keep the hood securely open while you work.
Step 2: Remove the Retaining Screws
To access the headlight assembly, you’ll need to remove several retaining screws and other components. Begin by locating the grille screws that secure the grille to the front of the truck.
- Use a 10mm socket wrench to remove the four bolts securing the grille at the top of the engine bay. These bolts are located just above the radiator.
- Gently pull the grille forward to release the clips that hold it in place. You may need to use a flathead screwdriver to carefully pry it loose. Set the grille aside once it is free.
Step 3: Remove the Headlight Assembly Bolts
With the grille removed, you’ll now have access to the headlight assembly bolts.
- Using the 10mm socket wrench, remove the bolts securing the headlight assembly to the truck. There are usually three bolts to remove—two at the top of the headlight and one on the side.
- Once all the bolts are removed, gently pull the headlight assembly forward. Be careful, as there are still electrical connections attached to the headlight.
Step 4: Disconnect the Electrical Connectors
Before removing the headlight assembly completely, you’ll need to disconnect the electrical connectors for the headlight bulbs.
- Locate the electrical connectors on the back of the headlight assembly.
- Press down on the release tab of each connector and carefully pull the connector away from the bulb socket. This will disconnect the power to the headlight bulbs.
Once the electrical connectors are disconnected, you can fully remove the headlight assembly from the vehicle.
Step 5: Replace the Headlight Bulbs
Now that the headlight assembly is removed, it’s time to replace the headlight bulbs.
- Identify the bulb housing on the back of the headlight assembly. Depending on whether you’re replacing the high beam or low beam bulb, locate the appropriate socket.
- Twist the bulb socket counterclockwise to remove the old bulb from the housing.
- Carefully remove the old bulb, making sure not to touch the glass of the new bulb with your fingers (this can shorten the lifespan of the bulb due to oils from your skin).
- Insert the new bulb into the socket and twist it clockwise to secure it in place.
Step 6: Reconnect the Electrical Connectors
After replacing the bulbs, reconnect the electrical connectors.
- Plug the electrical connectors back into the appropriate bulb sockets, ensuring they click into place securely.
- Double-check that the connections are snug and that the bulbs are properly installed in their housing.
Step 7: Reinstall the Headlight Assembly
With the new headlight bulbs in place, it’s time to reinstall the headlight assembly.
- Carefully position the headlight assembly back into its housing, making sure it aligns with the mounting points.
- Reinstall the bolts that secure the headlight assembly using the 10mm socket wrench. Tighten the bolts to ensure the headlight assembly is secure.
Step 8: Reinstall the Grille
Once the headlight assembly is reinstalled, it’s time to put the grille back in place.
- Align the grille with the front of the truck and press it into the clips that hold it in place.
- Reinsert the four bolts at the top of the grille and tighten them using the socket wrench.
Step 9: Test the New Headlights
Before finishing up, it’s important to test the new headlights to ensure they are working correctly.
- Turn the vehicle’s ignition to the “on” position and activate the headlights.
- Check both the low and high beams to ensure the new bulbs are functioning properly.
- If everything looks good, you’re ready to hit the road!
Step 10: Close the Hood
After testing the headlights, carefully remove the hood prop rod and lower the hood until it latches securely.
Conclusion
Changing the headlight on a 2015 Chevy Silverado is a straightforward process that can be completed with basic tools in about 30 to 45 minutes. Regular maintenance of your headlights ensures that you have clear visibility on the road, enhancing both your safety and that of other drivers. By following the step-by-step instructions outlined in this guide, you’ll be able to replace your headlight bulbs with ease and get back on the road with confidence.
Remember, always handle new bulbs with care and wear gloves to avoid damaging the bulb with oil from your fingers. With the right approach and attention to detail, you’ll have your Silverado’s headlights shining brightly in no time!


