Upgrading your vehicle’s cooling system by installing an electric cooling fan can help maintain optimal engine temperatures, especially in high-performance vehicles or during extreme driving conditions. Installing a universal cooling fan using a mounting kit is a relatively simple process that can improve airflow and help keep your engine from overheating. Whether you are looking to replace an old fan or add an auxiliary one for extra cooling power, a universal cooling fan mounting kit is a versatile and easy-to-use solution.
In this guide, we will walk you through the process of installing a universal cooling fan mounting kit step-by-step, including the tools and materials needed to ensure your installation goes smoothly.
Why Install a Universal Cooling Fan?
Benefits of Installing a Universal Cooling Fan
Installing a universal electric cooling fan comes with several benefits:
- Improved engine cooling: Electric fans improve airflow through the radiator, ensuring that the engine maintains the correct operating temperature.
- Increased engine efficiency: Electric fans are more efficient than mechanical fans, as they are not powered by the engine itself, which can free up horsepower.
- Quieter operation: Electric fans typically produce less noise than mechanical fans, making for a quieter driving experience.
- Enhanced reliability: Universal cooling fans can be installed as auxiliary fans, providing extra cooling during heavy loads, towing, or in hot climates.
If your vehicle’s factory cooling system isn’t sufficient or if you need extra cooling power, installing a universal fan can help address these issues.
Tools and Materials Needed
Before you begin the installation, gather the following tools and materials:
- Universal cooling fan (the size will depend on your radiator and cooling needs)
- Cooling fan mounting kit (usually includes zip ties, mounting pads, and brackets)
- Screwdriver set (flathead and Phillips)
- Pliers (for cutting zip ties)
- Socket wrench set (for removing bolts)
- Drill and drill bits (optional, for custom bracket installation)
- Zip ties or mounting straps (additional if needed)
- Protective gloves (to protect your hands)
- Owner’s manual (optional, for reference on your vehicle’s cooling system)
Having these tools and materials ready will ensure a smooth and efficient installation process.
Step-by-Step Guide to Installing a Universal Cooling Fan Mounting Kit
Step 1: Choose the Correct Fan Size and Placement
The first step is to select the right size fan and determine the best placement for it. The fan should cover a significant portion of the radiator to maximize cooling efficiency.
- Measure your radiator: Before purchasing your universal fan, measure the dimensions of your radiator to determine the maximum fan size that will fit.
- Determine mounting position: Decide whether you want to install the fan as a puller or pusher. A puller fan is mounted behind the radiator and pulls air through it, while a pusher fan is mounted in front of the radiator and pushes air through. Puller fans are generally more efficient, but a pusher fan is a good option if space is limited.
Step 2: Disconnect the Battery
As with any work involving electrical components, it’s important to disconnect the vehicle’s battery to avoid short circuits or accidental damage.
- Turn off the engine: Ensure the engine is turned off and the vehicle is parked on a flat surface.
- Disconnect the negative battery terminal: Use a wrench to remove the negative cable from the battery, which will prevent any electrical issues during the installation process.
Step 3: Remove the Existing Mechanical Fan (if applicable)
If your vehicle has a mechanical fan that you are replacing with an electric fan, you will need to remove it.
- Locate the mechanical fan: It is typically mounted on the front of the engine, driven by the engine’s pulley system.
- Remove the fan: Use a socket wrench to loosen the bolts holding the mechanical fan in place. Once the bolts are removed, gently pull the fan away from the engine.
- Remove the fan shroud: The fan shroud may also need to be removed to make space for the new electric fan. Use a socket wrench to remove the bolts securing the shroud.
Step 4: Position the Universal Cooling Fan
Now that the area is clear, it’s time to position the new universal cooling fan in front of or behind the radiator, depending on whether you’re installing it as a pusher or puller.
- Position the fan: Place the fan against the radiator in your desired location. Ensure that the fan is centered on the radiator for maximum airflow.
- Check for clearance: Make sure there is enough clearance between the fan and any engine components, such as the water pump or serpentine belt.
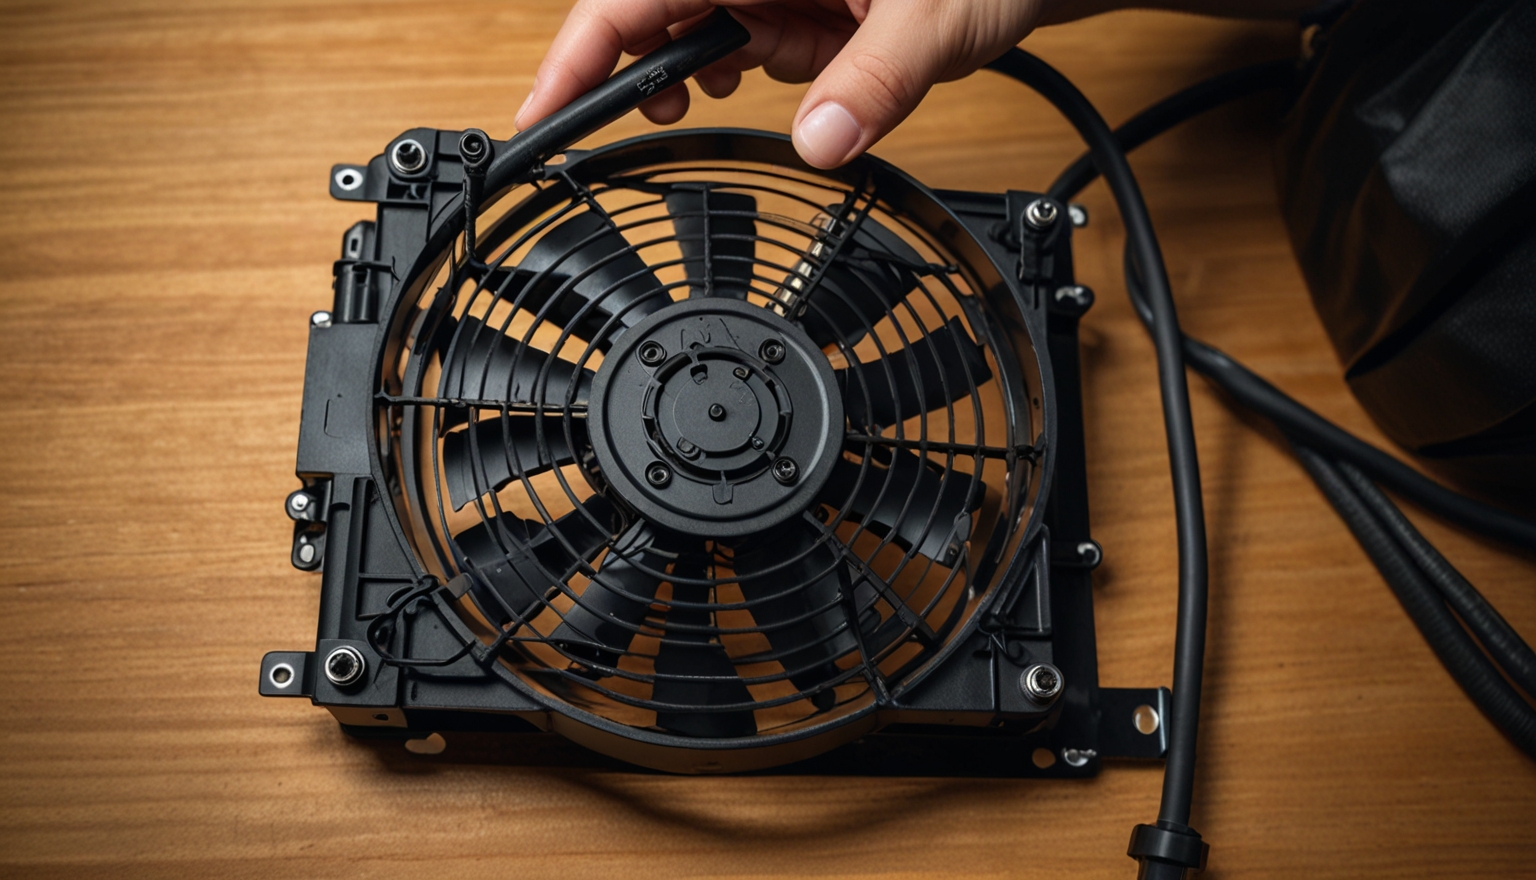
Step 5: Install the Fan Using the Mounting Kit
Most universal cooling fan mounting kits use zip ties, mounting straps, or brackets to secure the fan to the radiator. The method you use will depend on the kit you purchased.
- Insert the mounting pads: Place the foam mounting pads between the fan and the radiator to prevent damage to the radiator’s delicate fins.
- Thread the zip ties: Insert the zip ties or mounting rods through the holes in the fan shroud, then thread them through the radiator’s fins. Make sure the ties are positioned evenly to distribute the fan’s weight.
- Secure the fan: Once the zip ties or rods are threaded through, use the provided locking clips to secure them on the backside of the radiator. Pull the ties tight, but be careful not to overtighten, as this can damage the radiator fins.
- Trim excess zip ties: Use pliers to cut off any excess zip tie material.
Step 6: Connect the Electrical Wiring
With the fan securely mounted, you now need to connect it to your vehicle’s electrical system.
- Connect the fan’s wiring: Most universal fans come with a wiring harness. Connect the positive and negative wires from the fan to a suitable power source, such as the battery or an accessory fuse. Use wire connectors or butt splices to make secure connections.
- Install a relay and switch: If your kit includes a relay or temperature switch, install these according to the manufacturer’s instructions. This will ensure the fan only turns on when needed (e.g., when the engine reaches a certain temperature).
Step 7: Test the Fan
Before finishing up, it’s important to test the fan to ensure it’s working properly.
- Reconnect the battery: Reattach the negative battery terminal to restore power to the vehicle.
- Start the engine: Turn on the engine and let it warm up. Once the engine reaches operating temperature, the fan should automatically turn on (if you installed a temperature switch). If the fan doesn’t turn on, check your wiring connections.
Step 8: Final Check and Adjustments
After testing the fan, double-check that everything is secure and that the fan is functioning as expected.
- Check for obstructions: Ensure that the fan isn’t rubbing against any engine components and that the wiring is safely routed away from hot or moving parts.
- Tighten any loose components: If necessary, tighten any loose bolts or zip ties to ensure the fan stays in place.
Conclusion
Installing a universal cooling fan mounting kit is a great way to improve your vehicle’s cooling system and ensure reliable performance during hot weather or heavy use. By following this step-by-step guide, you can easily replace your old mechanical fan or add an auxiliary fan to enhance your vehicle’s cooling capacity. With the proper tools and attention to detail, you’ll have a more efficient, quieter, and reliable cooling system in no time!