Photographic slides were once a popular way to capture memories, but as technology advanced, they’ve become outdated. Don’t let your precious moments fade away—convert photographic slides to digital to preserve them. Digitizing your slides ensures they’re safely stored and easy to enjoy for years to come.
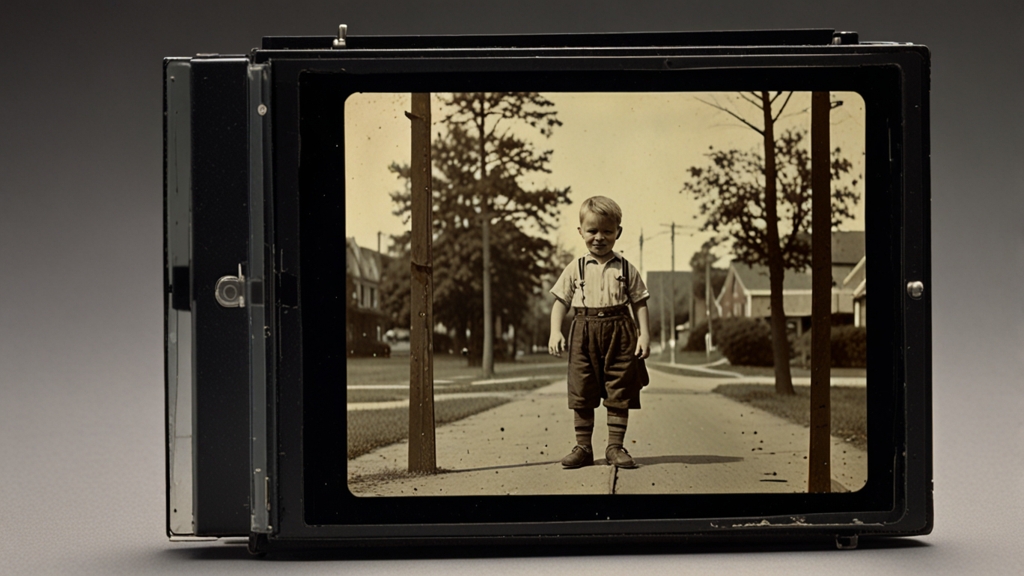
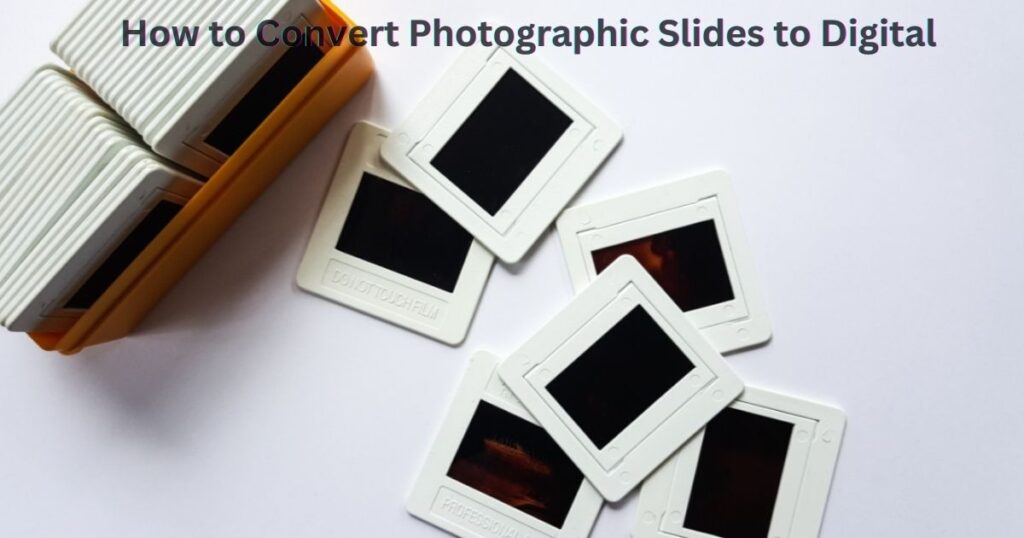
Photographic slides are small, transparent pieces of film mounted on a frame, usually 2 inches by 2 inches.
People used slide projectors to show these images on a larger screen.
Slides were popular in the 1950s to 1980s and were used for family photos, school lessons, and even professional presentations.
However, unlike modern digital photos, slides can easily get damaged or fade over time.
This makes it essential to convert photographic slides to digital format to preserve them.
Why Should You Convert Photographic Slides to Digital?
1. Protect Your Memories
Over time, slides can be affected by dust, mold, and fading colors. If they are not stored properly, they might become unusable. By converting photographic slides to digital, you can keep those special moments safe forever. Digital images do not fade, and they are easy to store on computers or cloud services.
Also Read: How to Convert DVDs to Memory Sticks
2. Share With Friends and Family
Digital photos are easy to share with anyone around the world. Once you convert photographic slides to digital, you can email them, upload them on social media, or even create online photo albums. This makes it simpler to share your memories with loved ones, even if they live far away.
3. Easy to Organize and Find
Old slides usually come in boxes or trays, making it hard to find a specific photo. Digital images, on the other hand, can be organized into folders and albums. You can even add tags or labels to make searching faster. Once you convert photographic slides to digital, finding your favorite pictures becomes quick and easy.
How to Convert Photographic Slides to Digital
There are a few different ways to convert photographic slides to digital. You can do it at home using special equipment or hire a professional service. Here’s a breakdown of your options:
1. Using a Slide Scanner
A slide scanner is a device designed specifically to scan photographic slides and convert them into digital files. Here’s how to use one:
- Step 1: Place the slide into the scanner. Some scanners have a tray that can hold multiple slides at once.
- Step 2: Choose the resolution. Higher resolution settings will give you clearer images but might take longer to scan.
Also Read: Are There Companies Who Can Change DVD to Memory Stick?
- Step 3: Start scanning. The scanner will create a digital file of the image on your computer.
- Step 4: Save and organize the digital files. Make sure to label them so you know what they are.
Slide scanners come in different price ranges, so you can choose one that fits your budget.
2. Using a Flatbed Scanner with a Slide Adapter
If you already have a flatbed scanner, you might not need to buy a new device. Some flatbed scanners come with a slide adapter, which holds the slides in place while they are scanned. Here’s how it works:
- Step 1: Attach the slide adapter to your scanner.
- Step 2: Place the slides in the adapter.
- Step 3: Scan the slides following the scanner’s instructions.
- Step 4: Edit and save the digital images.
Although this method works well, it might not provide the highest quality images compared to using a dedicated slide scanner.
3. Using a Professional Service
If you don’t want to do it yourself, you can pay a professional service to convert photographic slides to digital. These companies have high-quality equipment and skilled technicians. They can scan hundreds of slides quickly and often provide editing services to fix color and remove dust spots. Here’s how it works:
- Step 1: Pack your slides securely and send them to the service provider.
- Step 2: Wait while they convert your slides.
- Step 3: Receive the digital images on a USB drive, CD, or through an online download link.
Tips for a Successful Conversion
Choose the Right Resolution: When you convert photographic slides to digital, choosing the right resolution is important. A resolution of 3000 to 4000 dpi (dots per inch) is usually good for high-quality images. This will ensure that the details in your slides are preserved.
Back Up Your Files: After converting, make sure to save copies of your digital photos in more than one place. For example, you can store them on an external hard drive, a cloud storage service, or both.
Also Read: VHS Video Transfer to DVD
Edit Your Images: Some digital files might need a little touching up. You can use free or paid photo editing software to adjust the brightness, color, or remove spots. This will make your converted images look even better.
The Impact of Converting Slides to Digital
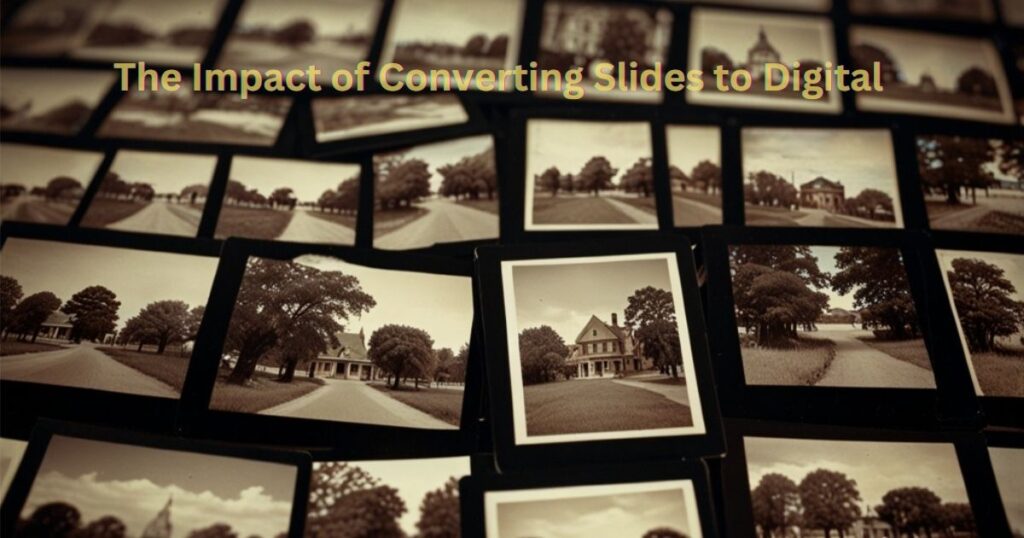
Converting photographic slides to digital can have a big impact on individuals and communities.
Families can reconnect with their history, preserving the stories and experiences of older generations.
For schools and museums, digital versions of old slides can be used in presentations or exhibits, making history come alive for students and visitors.
Digital technology also makes it possible for people to share cultural heritage with a larger audience.
For example, community groups that have collections of old photographs can digitize them and create online archives.
This helps to keep cultural memories alive and accessible for future generations.
Conclusion
Converting photographic slides to digital is a great way to preserve your precious memories. Whether you choose to use a slide scanner, a flatbed scanner, or a professional service, the process ensures that your photos are protected and easy to share. Taking the time to convert your slides will give you peace of mind, knowing that your memories are safe and will be enjoyed by family and friends for years to come.
