How to Read the Transmission Dipstick: A Step-by-Step Guide
Properly maintaining your vehicle’s transmission fluid is crucial for ensuring smooth gear shifts and preventing costly repairs. One of the simplest and most effective ways to monitor your transmission’s health is by checking the transmission dipstick. The dipstick allows you to gauge the level and condition of your transmission fluid, ensuring it’s within the optimal range and not contaminated.
In this guide, we’ll walk you through how to read the transmission dipstick and interpret the results to keep your vehicle running smoothly.
Why is Checking Transmission Fluid Important?
The Role of Transmission Fluid
Transmission fluid serves several key purposes:
- Lubrication: It keeps the gears and other components inside the transmission lubricated to reduce friction and wear.
- Cooling: The fluid helps regulate the temperature of the transmission, preventing it from overheating.
- Hydraulic Function: In automatic transmissions, the fluid also provides the hydraulic pressure needed to change gears.
Over time, transmission fluid can break down or become contaminated with debris, leading to poor performance and potential damage to the transmission. Regularly checking the transmission fluid via the dipstick ensures that you maintain optimal fluid levels and replace it if it has degraded.
Signs of Low or Contaminated Transmission Fluid
If your transmission fluid is low or contaminated, you may notice the following symptoms:
- Difficulty shifting gears
- Slipping gears
- Unusual noises such as grinding or whining
- Overheating transmission
- Transmission fluid leaks under your vehicle
If you’re experiencing any of these issues, it’s important to check the transmission dipstick as part of your troubleshooting process.
Tools and Materials Needed
Before you begin, make sure you have the following items ready:
- Rag or paper towel (for wiping the dipstick)
- Owner’s manual (to reference transmission fluid specifications)
- Funnel (for adding transmission fluid, if needed)
- Transmission fluid (the correct type for your vehicle, as specified in the owner’s manual)
Step-by-Step Guide to Reading the Transmission Dipstick
Step 1: Warm Up the Vehicle
Before checking the transmission fluid, it’s important to make sure the vehicle is at operating temperature. Transmission fluid expands when it’s hot, and most dipsticks are designed to be read with the engine running at normal operating temperature.
- Start the engine and let the vehicle idle for a few minutes to warm up.
- Shift through the gears: While the engine is running, move the gear selector through each gear (reverse, neutral, drive) to circulate the fluid through the transmission system.
- Park the vehicle: Once you’ve shifted through the gears, place the transmission in Park (for automatic transmissions) or Neutral (for manual transmissions) and leave the engine running.
Step 2: Locate the Transmission Dipstick
The transmission dipstick is usually located near the back of the engine compartment. The exact location can vary depending on the make and model of your vehicle, so consult your owner’s manual if you’re having trouble finding it.
- Open the hood: Pull the hood release lever inside the vehicle to open the hood.
- Find the transmission dipstick: Look for a yellow or red handle labeled “Transmission” or “ATF” (Automatic Transmission Fluid). In some vehicles, the dipstick may be located deeper in the engine bay, requiring you to look more carefully.
Step 3: Pull Out the Dipstick
Once you’ve located the dipstick, it’s time to check the fluid level and condition.
- Pull the dipstick out: Grab the handle and slowly pull the dipstick out of the tube.
- Wipe the dipstick clean: Use a rag or paper towel to wipe off the dipstick completely. This ensures an accurate reading when you reinsert it.
Step 4: Check the Transmission Fluid Level
Now that the dipstick is clean, you can reinsert it to get a proper reading of the transmission fluid level.
- Reinsert the dipstick: Slowly push the dipstick all the way back into the tube, ensuring it’s fully seated.
- Pull the dipstick out again: Once it’s fully inserted, pull the dipstick out and check the fluid level on the tip.
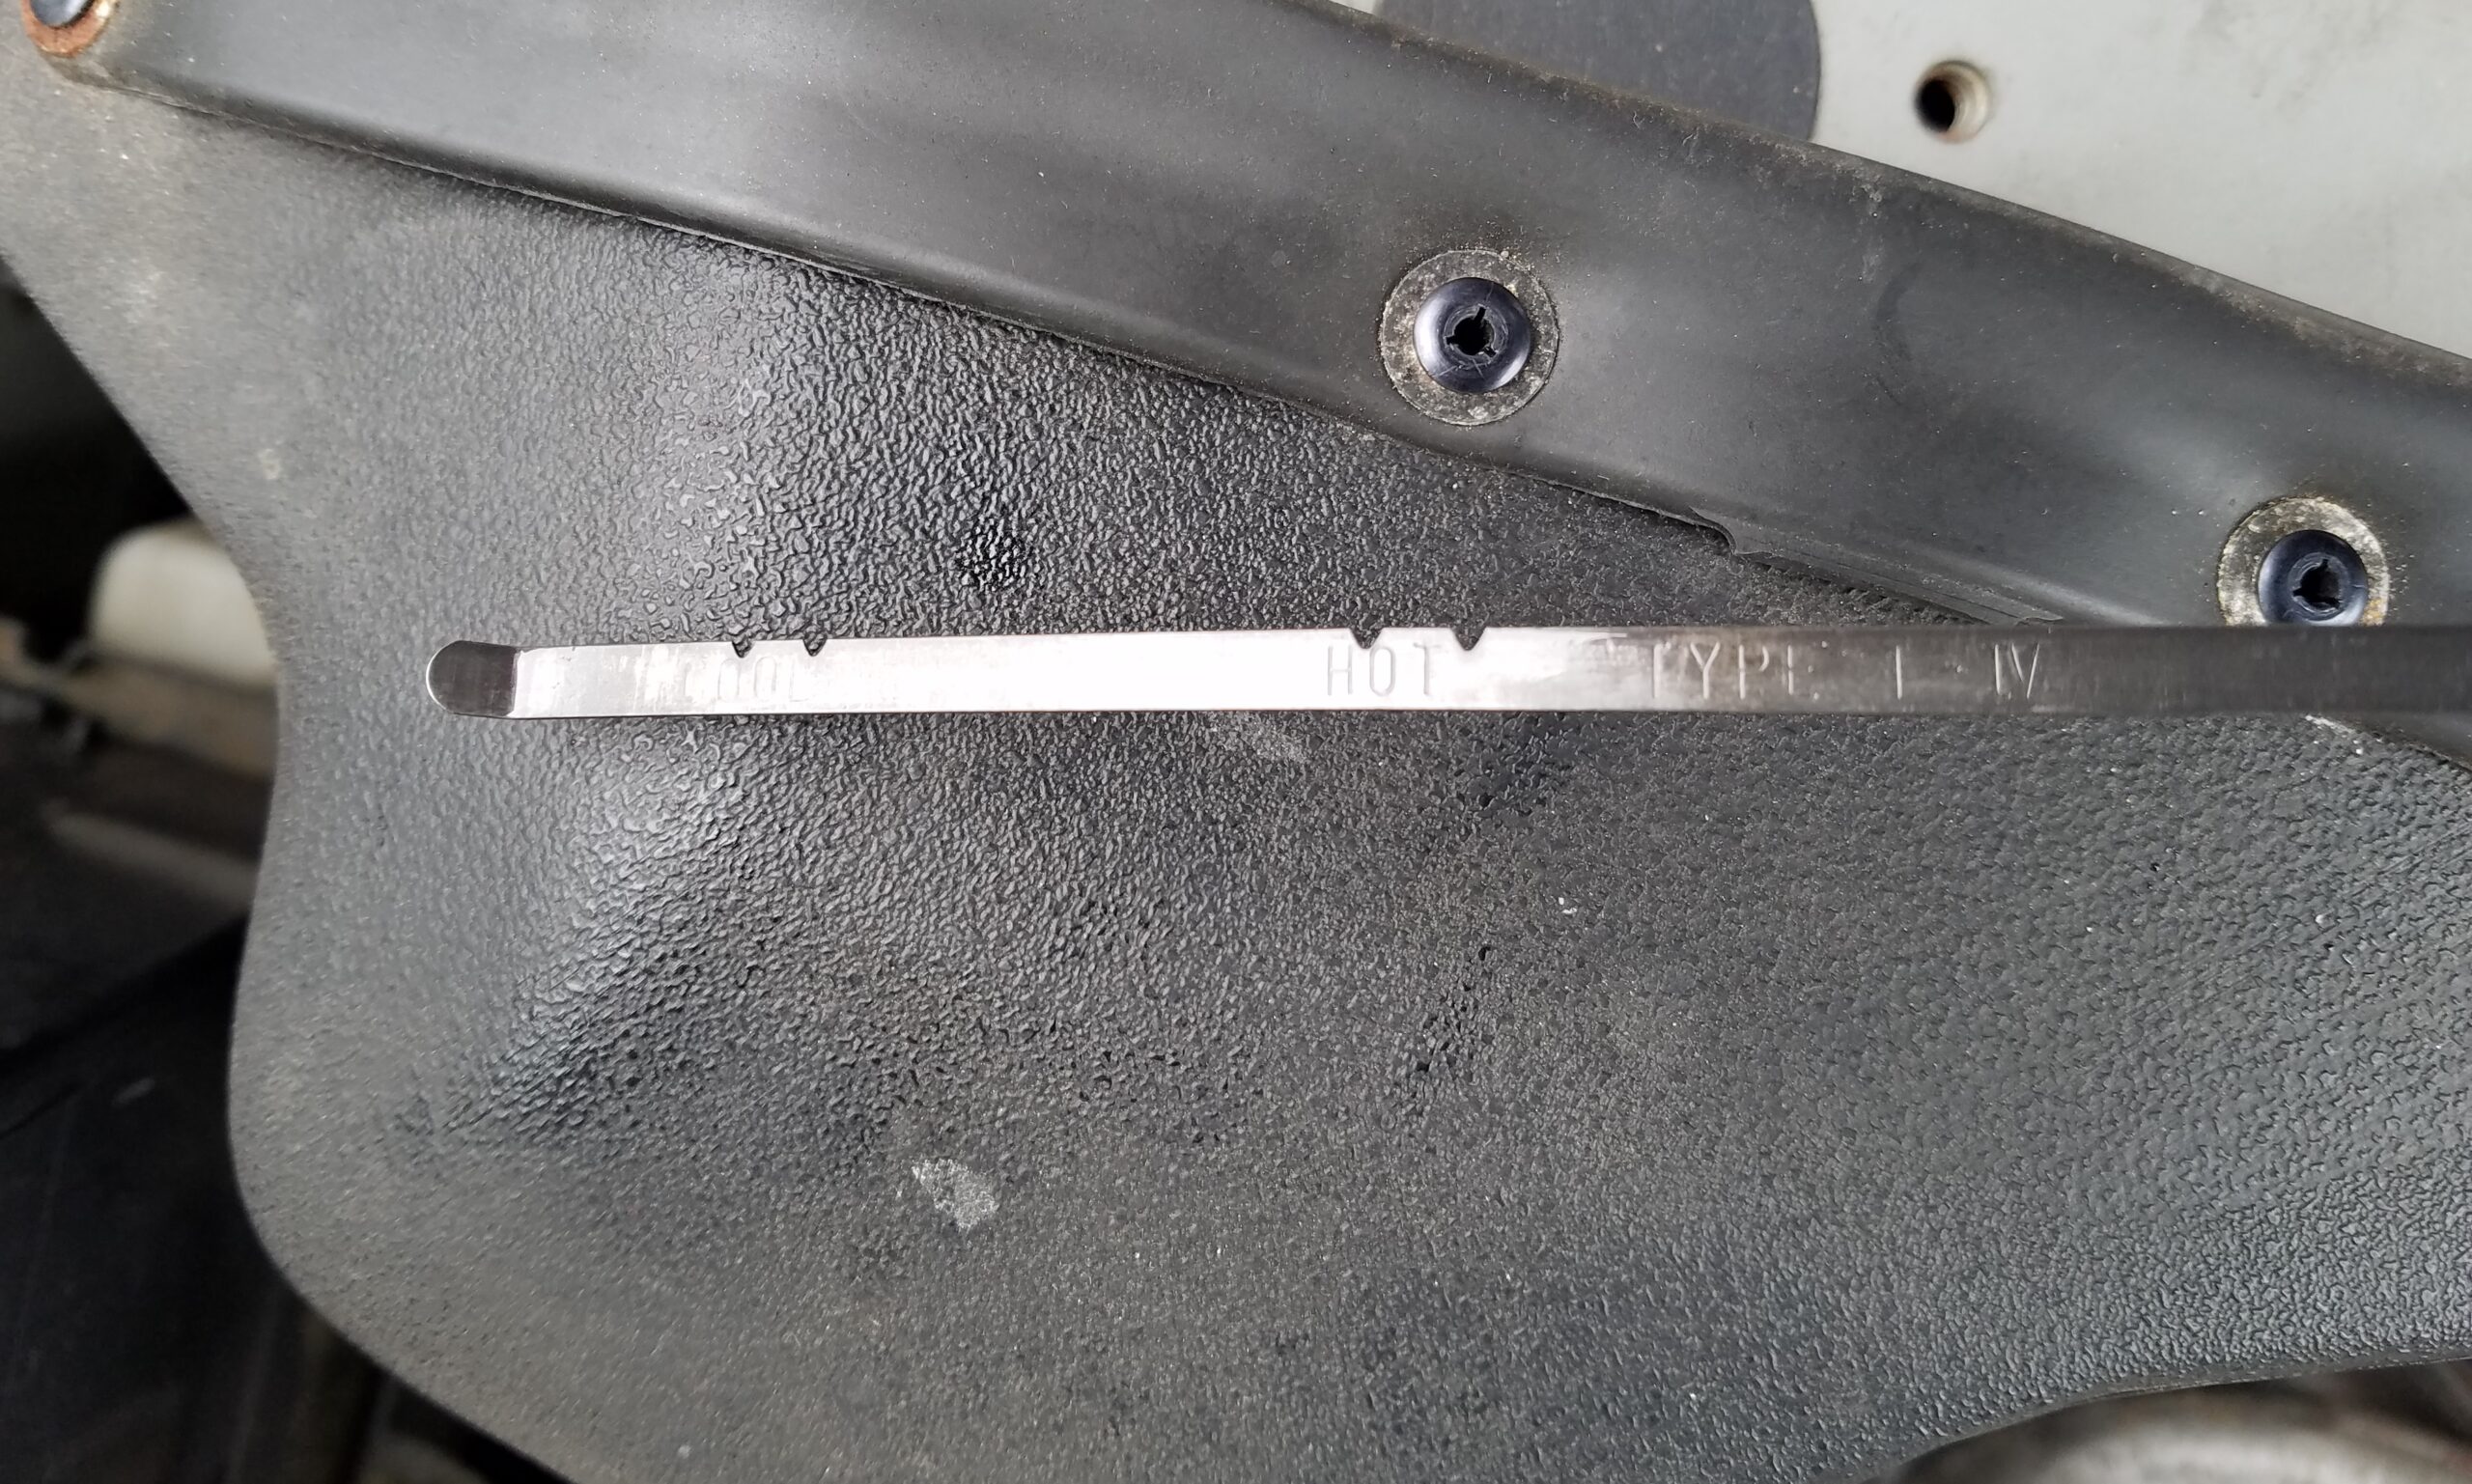
Most dipsticks have markings that indicate the proper fluid level. Look for markings such as “Full” and “Add” or “Hot” and “Cold” to determine if your fluid level is in the correct range. The fluid level should be between the “Full” and “Add” marks when the engine is warm. If it’s below the “Add” mark, you’ll need to add more transmission fluid.
Step 5: Assess the Condition of the Transmission Fluid
In addition to checking the fluid level, you should also inspect the condition of the transmission fluid to ensure it’s still effective. Transmission fluid that’s in good condition will appear clean and reddish in color.
- Check the color: Fresh transmission fluid is typically a bright red or pink color. If the fluid is brown or black, it may be contaminated or old, indicating the need for a fluid change.
- Check the smell: Smell the dipstick to see if the fluid has a burnt odor. Burnt-smelling fluid is another sign that it’s time for a transmission service.
- Check for debris: Look for any metal shavings or particles in the fluid. If you see debris, it could indicate internal wear or damage within the transmission.
Step 6: Add Transmission Fluid (if necessary)
If your fluid level is low, you’ll need to add more transmission fluid.
- Refer to the owner’s manual: Make sure you use the correct type of transmission fluid for your vehicle. The owner’s manual will specify which fluid is appropriate.
- Use a funnel: Insert a funnel into the transmission dipstick tube and slowly add the recommended transmission fluid.
- Recheck the level: After adding fluid, repeat the process of checking the dipstick to ensure the fluid level is within the “Full” range. Be careful not to overfill, as this can cause issues with the transmission.
Step 7: Reinsert the Dipstick and Close the Hood
Once you’ve checked the fluid level and condition, reinsert the dipstick and ensure it’s fully seated.
- Reinsert the dipstick: Push the dipstick back into the tube until it’s fully in place.
- Close the hood: Once everything is complete, securely close the hood of your vehicle.
Conclusion
Regularly checking your vehicle’s transmission fluid via the dipstick is a simple yet essential maintenance task that can help prevent transmission problems and keep your vehicle running smoothly. By following this step-by-step guide, you’ll be able to accurately assess the fluid level and condition, allowing you to take action if the fluid needs to be topped off or replaced. Maintaining your transmission fluid not only ensures better performance but also prolongs the life of your transmission system.


Post Comment