How to Drill Holes for a License Plate
Installing a license plate on your vehicle might seem like a straightforward task, but how to drill holes for a license plate can be a bit tricky if you’ve never done it before. Whether you’re replacing a damaged plate, installing a new plate on a new car, or customizing your vehicle, drilling the holes correctly ensures that the license plate is secure and looks professional. This guide will walk you through the process step-by-step, ensuring you have all the information you need to do the job right.
Tools and Materials Needed
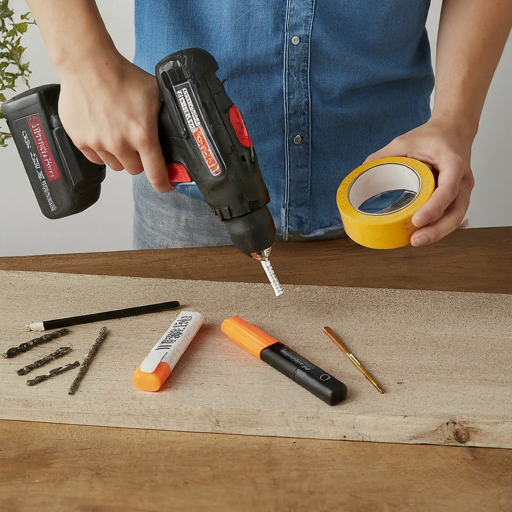
Before you begin, it’s essential to gather all the necessary tools and materials. Having everything on hand will make the process smoother and more efficient. Here’s what you’ll need:
- Drill: A standard power drill will work for this task.
- Drill Bits: Choose drill bits appropriate for the material of your vehicle’s mounting area. Typically, a 1/8-inch bit works well for most screws.
- Masking Tape: To protect your vehicle’s paint and help guide your drilling.
- Pencil or Marker: For marking where you’ll drill the holes.
- Measuring Tape: To ensure precise placement of the holes.
- License Plate: The plate you’ll be installing.
- License Plate Frame (Optional): If you’re using a frame, make sure it’s the correct size for your plate.
- Screws: Usually provided with the license plate or frame. Ensure they are the correct size and type for your vehicle.
- Safety Goggles: To protect your eyes from debris.
- Screwdriver or Drill with Screwdriver Bit: For tightening the screws.
Preparing the Area
Preparation is key to a successful installation. Follow these steps to prepare your vehicle for drilling:
- Clean the Surface: Start by cleaning the area where you’ll be mounting the license plate. Use a mild detergent and water to remove any dirt or debris. This helps ensure that the tape adheres well and that you can see your markings clearly.
- Position the Plate: Hold the license plate or frame up to the mounting area. Make sure it’s centered and level. If your vehicle has pre-existing holes, align the plate with those. If not, you’ll need to measure carefully to ensure it’s straight.
- Mark the Holes: Once you’re satisfied with the positioning, use a pencil or marker to mark the spots where you’ll drill the holes. Double-check the alignment to ensure the plate will be straight.
Choosing the Right Drill Bit
Selecting the correct drill bit is crucial for a clean and precise hole. Here’s how to choose the right one:
- Material Consideration: For metal surfaces, use a metal drill bit. For plastic bumpers or fiberglass, a standard drill bit is usually sufficient.
- Size Matching: The drill bit size should match the screws you’ll be using. A 1/8-inch bit is commonly used, but check the size of your screws to be sure.
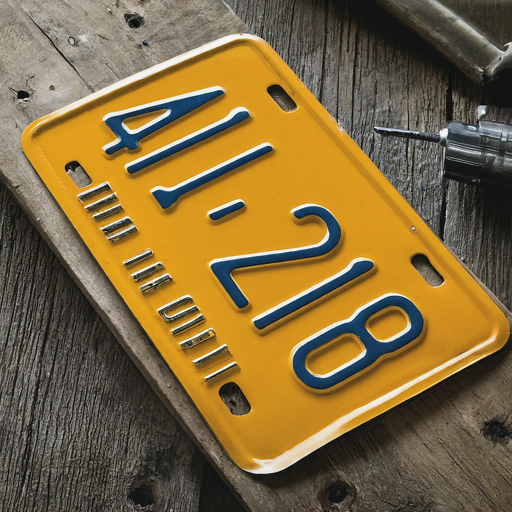
Drilling the Holes
Drilling the holes correctly is the most critical part of the process. Follow these steps to ensure success:
- Protect the Area: Apply masking tape over the spots where you’ll be drilling. This helps prevent the drill bit from slipping and protects the paint from scratches.
- Start Drilling: Put on your safety goggles to protect your eyes from debris. Begin drilling slowly at the marked spots, gradually increasing the speed. Hold the drill steady and perpendicular to the surface to avoid creating angled holes.
- Check the Depth: Ensure that the holes are deep enough to accommodate the screws but not so deep that they cause damage. If you’re drilling into metal, you might want to periodically check the hole depth.
Installing the License Plate
With the holes drilled, you’re ready to install the license plate. Here’s how:
- Position the Plate: Place the license plate or frame over the drilled holes. Ensure it’s aligned correctly.
- Insert Screws: Insert the screws through the plate and into the drilled holes. Use a screwdriver or a drill with a screwdriver bit to tighten them. Be careful not to overtighten, as this can strip the screws or crack the plate.
Finishing Touches
After installing the plate, there are a few final steps to ensure everything is perfect:
- Check Alignment: Double-check that the plate is straight and securely attached. If it’s slightly crooked, loosen the screws and adjust as needed.
- Remove Masking Tape: Carefully remove any masking tape from around the holes.
- Test Stability: Give the license plate a gentle tug to confirm it’s firmly in place.
Tips and Warnings
Drilling holes in your vehicle might seem daunting, but these tips and warnings can help make the process easier and safer:
- Measure Twice, Drill Once: Double-check your measurements before drilling to avoid mistakes. It’s much easier to correct a misalignment before the holes are drilled.
- Use Proper Safety Gear: Always wear safety goggles to protect your eyes from debris, especially when drilling into metal.
- Avoid Over-Tightening: Over-tightening screws can strip the threads or crack the plate. Tighten them until they are secure but do not force them.
- Consider a Drill Guide: If you’re worried about drilling straight, consider using a drill guide. This tool helps keep the drill bit perpendicular to the surface, ensuring a straight hole.
- Test on Scrap Material: If you’re new to using a drill or unsure about the process, practice on a piece of scrap material first. This helps you get a feel for the tool and technique.
Common Issues and Troubleshooting
Even with careful preparation, you might encounter some issues. Here’s how to address common problems:
- Drill Bit Slips: If the drill bit slips off the mark, ensure you’re using masking tape and starting slowly. Applying more pressure gently can also help keep the bit in place.
- Holes Misaligned: If the holes are slightly misaligned, you might be able to correct it by enlarging the holes slightly. However, this should be a last resort as it can weaken the mounting area.
- Paint Chipping: If the paint chips around the holes, touch up the area with a bit of matching paint to prevent rust.
Conclusion
Drilling holes for a license plate is a task that requires some attention to detail but is entirely manageable with the right tools and preparation. By following the steps outlined in this guide, you can ensure a secure and professional-looking installation. Remember to take your time, measure carefully, and use proper safety equipment. With these precautions, your license plate will be firmly in place and ready for the road.


Post Comment