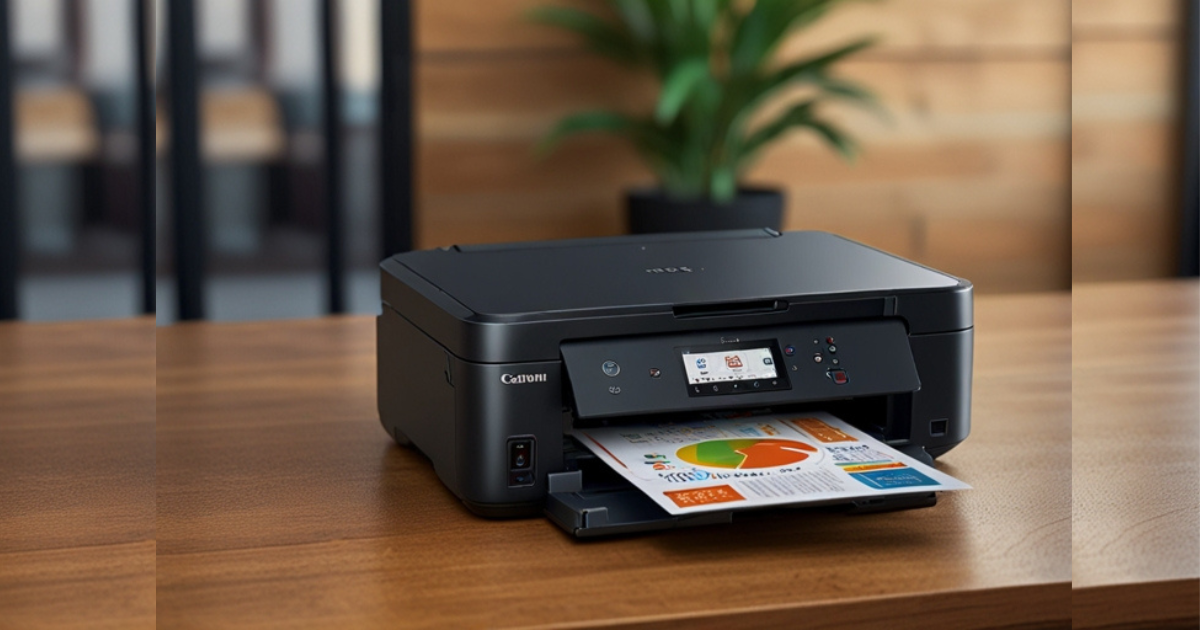
How to Connect to MG7780 Over LAN Network
The Canon MG7780 is a popular all-in-one wireless printer that offers features like high-quality printing, scanning, and copying. While it is known for its wireless capabilities, many users prefer to connect it over a Local Area Network (LAN) to enhance stability, security, and access from multiple devices on the same network.
In this article, we will explore how to connect the Canon MG7780 to your network over LAN, step-by-step, and discuss the benefits of using a wired connection for printing. Whether you’re working in an office or setting up a home network, this guide will help you establish a reliable connection between your devices and your Canon MG7780 printer.
Why Use LAN for Printer Connection?
Why Use LAN for Printer Connection?
Benefits of LAN Over Wireless
While Wi-Fi printing is convenient, there are several advantages to using a LAN connection for your printer:
- Stable Connection: A wired LAN connection is less prone to interference, providing a more reliable connection than Wi-Fi, especially in environments with heavy network traffic.
- Improved Speed: Wired LAN networks typically offer faster data transfer rates compared to wireless connections, ensuring that large print jobs are handled more efficiently.
- Network Security: Wired connections can be more secure than Wi-Fi, as they are not susceptible to the same risks like unauthorized access or signal interference.
- Multiple Device Access: By connecting the Canon MG7780 to a LAN, you can easily allow multiple devices on the same network (e.g., computers, smartphones, tablets) to access the printer without needing to rely on wireless connections.
When to Use LAN Instead of Wi-Fi
LAN connections are ideal in settings where multiple devices need to share a printer, such as in offices, schools, or home networks with several users. If you experience frequent connectivity issues with Wi-Fi or have security concerns, opting for a LAN connection can help resolve these problems.
Step-by-Step Guide to Connect the Canon MG7780 Over LAN
Connect the Canon MG7780 Over LAN
Step 1: Gather Necessary Equipment
Before you begin the connection process, make sure you have the following:
- Ethernet cable: This will connect the printer to your router.
- Router with available Ethernet ports: Ensure your router has at least one free port to accommodate the printer’s LAN connection.
- A computer (Windows or Mac) that will be used to set up the printer on the network.
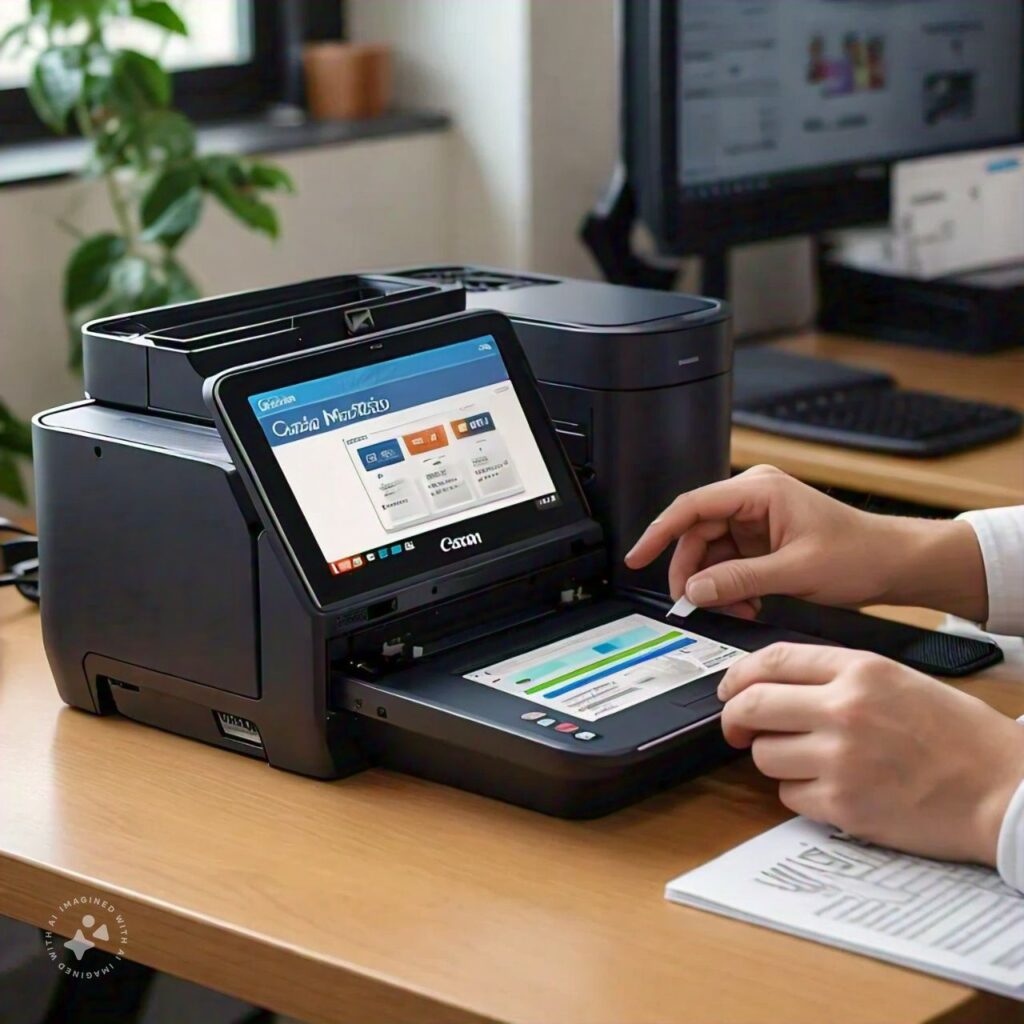
Step 2: Prepare the Canon MG7780 for LAN Connection
- Turn on the printer: Plug in and power on your Canon MG7780 printer.
- Navigate to settings: Use the printer’s touchscreen display to access the setup menu. You can typically find this option by pressing the Home button and then selecting the Network Settings menu.
- Select LAN settings: From the Network Settings menu, choose Wired LAN as the connection method. This will prepare the printer for a wired connection.
Step 3: Connect the Printer to the Router
- Plug in the Ethernet cable: Connect one end of the Ethernet cable to the LAN port on the back of the Canon MG7780 printer.
- Connect to the router: Plug the other end of the Ethernet cable into an available Ethernet port on your router.
- Check connection status: The printer’s display should now show that it is connected to the wired network. You may need to wait a few seconds for the connection to be established. The printer will also assign itself an IP address, which will be needed for configuring it on your computer.
Step 4: Find the Printer’s IP Address
- Access the network settings: From the printer’s display, navigate to Network Settings > LAN Details to find the printer’s assigned IP address.
- Write down the IP address: You will use this address to add the printer to your computer or any other device connected to the same network.
Step 5: Add the Printer to Your Computer (Windows)
- Open Control Panel: On your Windows computer, navigate to the Control Panel and select Devices and Printers.
- Add a printer: Click Add a Printer from the top menu, and Windows will begin searching for available printers on your network.
- Select the printer manually: If the Canon MG7780 does not appear automatically, click The printer that I want isn’t listed. Then, select Add a printer using a TCP/IP address or hostname.
- Enter the IP address: Input the printer’s IP address (which you noted in Step 4) into the appropriate field and click Next.
- Install the drivers: Windows may prompt you to install the necessary drivers for the Canon MG7780. Follow the prompts to complete the installation.
Step 6: Add the Printer to Your Mac
- Open System Preferences: On your Mac, go to System Preferences and select Printers & Scanners.
- Add a printer: Click the + button to add a new printer.
- Select the IP tab: In the window that appears, select the IP tab and enter the IP address of the Canon MG7780.
- Choose the protocol: Ensure that IPP (Internet Printing Protocol) is selected as the protocol.
- Add the printer: Click Add to finalize the process. Your Mac will now install the necessary drivers, and the printer will be ready for use.
Step 7: Test the Connection
To ensure that the Canon MG7780 is connected correctly over LAN, print a test page from any connected device:
- Open a document on your computer.
- Select Print from the file menu.
- Choose the Canon MG7780 from the list of available printers.
- Click Print to send a test job to the printer.
If the test page prints successfully, the LAN setup is complete, and you can now print from any device on your network.
Troubleshooting Common Issues
Troubleshooting Common Issues
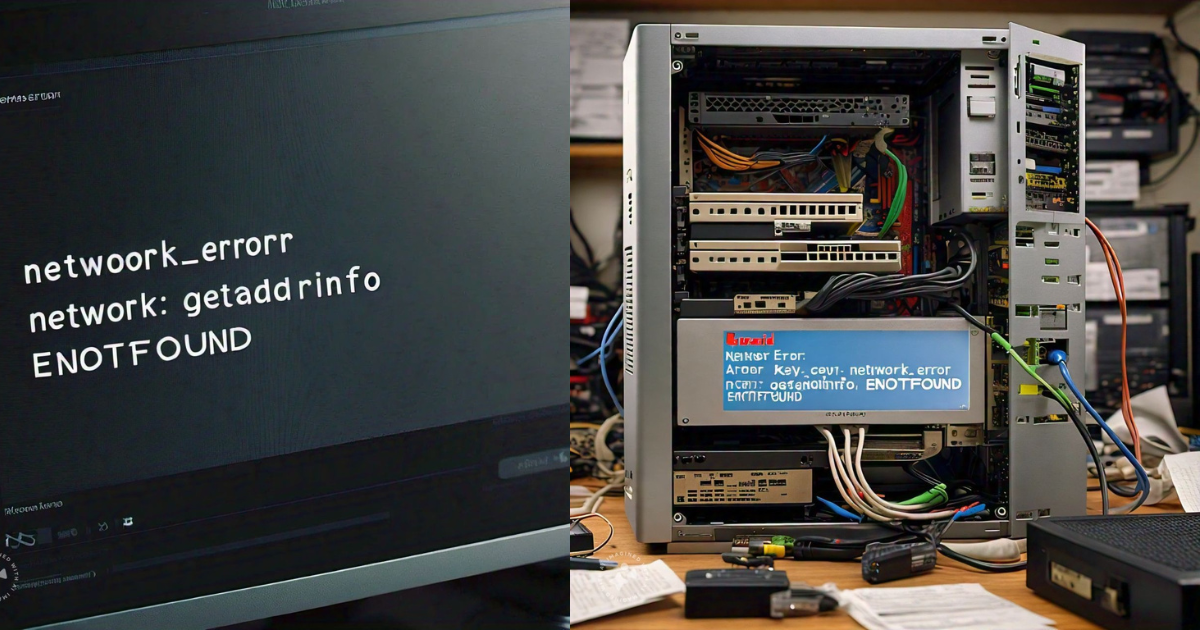
Printer Not Detected on the Network
If the printer is not showing up on the network, or your computer cannot detect it, check the following:
- Ensure that the Ethernet cable is securely connected to both the printer and the router.
- Verify that the printer’s LAN settings are correctly configured for a wired connection.
- Confirm that your router has assigned the printer an IP address by checking the router’s admin interface.
Slow Printing Speed
While wired connections usually offer faster performance than Wi-Fi, you may still encounter slow printing speeds. Possible solutions include:
- Check for any network congestion: Multiple devices downloading large files or streaming video can slow down the LAN.
- Update the printer’s firmware to ensure optimal performance.
- Try restarting your router to reset network settings.
Printer Disconnected or Offline
If your printer shows up as offline or disconnected, verify that:
- The Ethernet cable is still properly connected.
- Your router is functioning properly and assigning IP addresses.
- Reboot both the printer and router to re-establish the connection.
Conclusion
Connecting your Canon MG7780 to a LAN network can provide a more stable and efficient way to handle printing jobs compared to wireless connections. By following the steps outlined in this guide, you can easily set up your printer for LAN access, allowing multiple devices on the network to print seamlessly.
Whether you’re using the printer in a home office, business setting, or shared space, having a reliable wired connection ensures better performance, security, and reduced network issues. With this setup in place, you’ll be able to take full advantage of the Canon MG7780’s capabilities with confidence.

Post Comment